Pebbledash Render – Should You Paint or Re-Render?
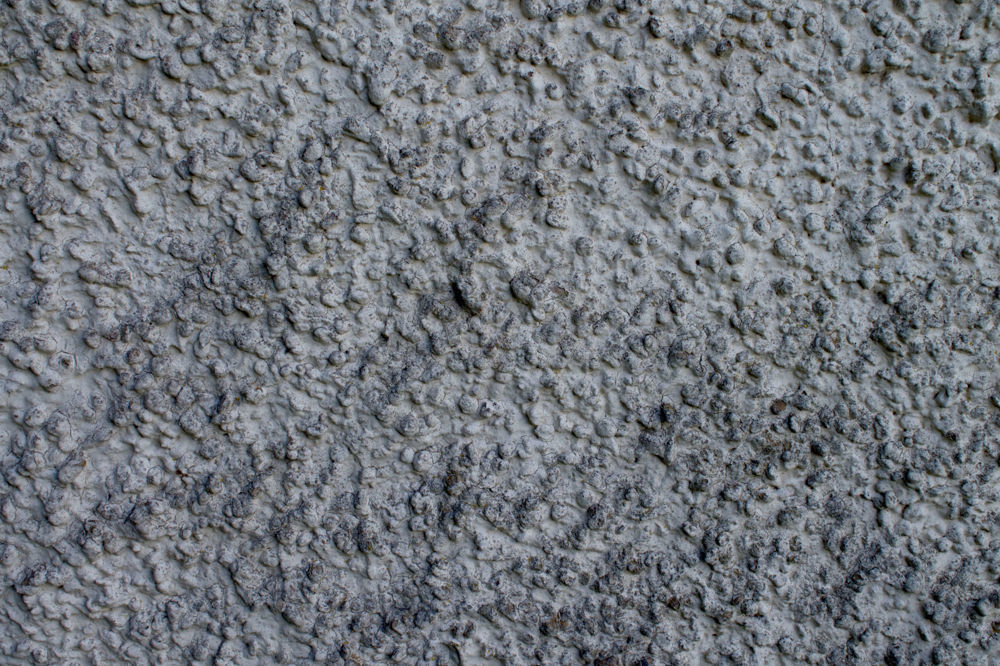
The question of how to make pebbledash look good is a common one across the UK, with millions of homes now covered in what can often be seen as a dated finish. In this guide we are going to cover everything you need to know before deciding whether to paint or re-render your house.
What Is Pebbledash?
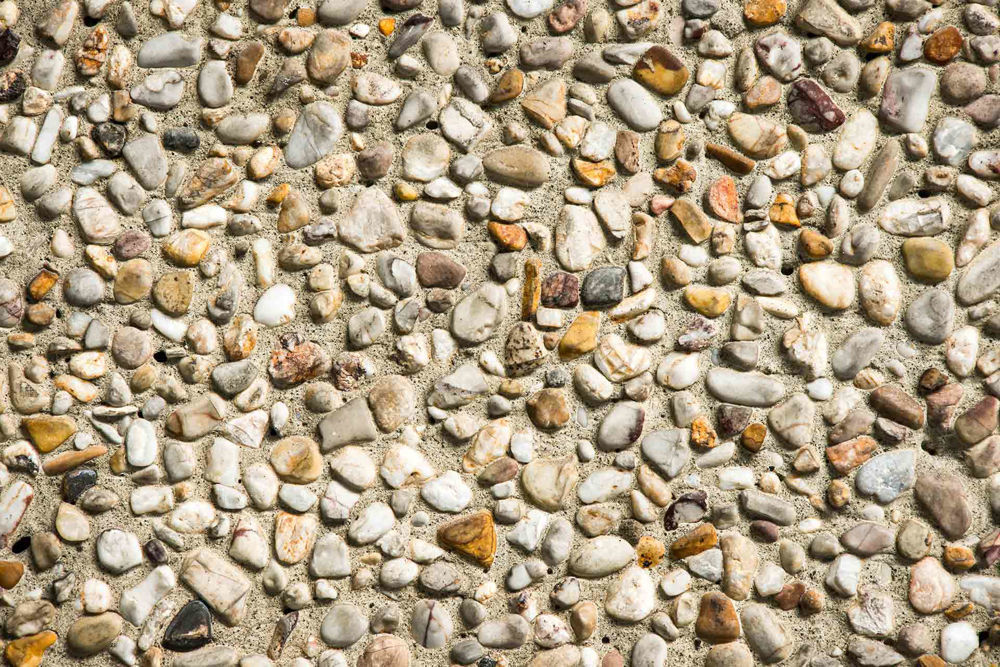
Pebbledash is a form of render that was popularised in the 1920’s, which involves covering an exterior wall with small pebbles and stones. This can often be confused with a roughcast, which is a similar textured render. While pebbledash is applied by adding a render mix to a masonry wall and throwing the stones on to the wall, a roughcast is applied by mixing the stones into the render and applying this directly to the wall.
Pebbledash is a divisive building material. On the positive side it is cost-effective and has excellent durability in harsh weather conditions thanks to density of the render. For this reason, it is often used in remote and coastal areas. On the negative side, this density can also have an impact on the breathability of the render, meaning water vapour can often be trapped within a property as it can’t naturally escape out of the wall. Furthermore, the finish that pebbledash can leave and the tendency for the rough texture to gather dirt, can often mean pebbledash is unattractive and undesired in its original state.
Problems With Pebbledash
When it comes to the performance of pebbledash, there are a number of issues that can arise in certain cases. The big problem with pebbledash is that due to the stones being added to the outside of the render, these can eventually fall out over-time, leaving bare areas of exposed render underneath. This is simply due to the fact that while pebbledash has better resistance to weathering than other forms of render, it can still come under attack from the elements over-time.
When these pebbles fall out, the exposed render underneath can then begin to absorb moisture from rainfall, causing penetrating damp. When this moisture absorbs into the external wall of the property, it can also lead to a number of other problems such as damaged brickwork or internal damp and mould. This leads to further damage to the render in the form of cracking. When the moisture enters the render it can under-go a ‘freeze-thaw cycle’ as temperatures drop below freezing. When the moisture within the render freezes it expands, causing movement within the wall that opens up cracks. These cracks start small, however as they allow more moisture to enter the render, they cause large cracks to open-up each time, eventually leading to substantial damage.
Remove, Paint or Render Over Pebbledash?
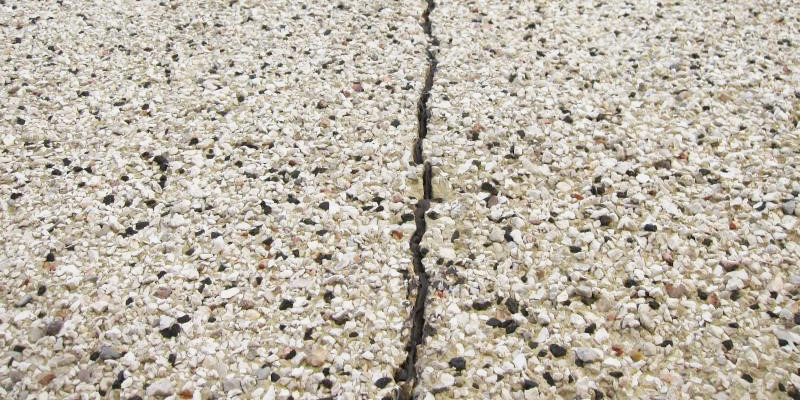
There are a number of options when it comes to renovating pebbledash or roughcast, removing the pebbledash, painting the pebbledash or rendering over the top of pebbledash.
REMOVING PEBBLEDASH
Removing pebbledash is possible, however it can be a long, labour-intensive process. Once the render is removed, it can expose some areas of brickwork that have been damaged such as cracks and spalling brickwork that weren’t there when the pebbledash was applied, which must be repaired.
Furthermore, repointing may have to be done to restore the natural brickwork back to its former glory. This means that removing the pebbledash can come with risks, which is why it is generally only recommended if you desire a natural brickwork finish or you are restoring an older building back to original condition.
The cost of this can vary. Checkatrade estimate that having pebbledash removed is likely to cost £2,100 to £7,800 depending on the size of the property. This does not include the remedial work or any painting of the property, once the external rendering has been removed.
RENDERING OVER PEBBLEDASH
If removing the pebbledash isn’t an option but you want to achieve a different rendered finish, you can render over the top of the existing pebbledash. This allows you to smooth over it using a non-textured, smooth render.
This is only an option if the render is not damaged. If there is any damage to the pebbledash such as cracking, this will have to be repaired before you apply any render over the top of the existing surface.
Checkatrade estimate rendering a property will cost between £2,835-£5,670 for a typical sized property. This can vary not only due to the size of the property but the type of render you use. A cheaper render such as sand and cement will have low breathability, which can trap moisture within the walls and will absorb moisture over-time, due to the fact that this and many other renders are porous and will uptake moisture.
PAINTING PEBBLEDASH
The final solution for renovating your existing pebbledash is to paint the render, which is the easiest and most common form of renovating pebbledash. While this does not smooth over the textured surface of the pebbledash or roughcast, it does allow the textured render to be completely transformed and modernised with a fresh look.
As with any exterior decorating, the pebbledash must be completely sound before you can paint. If there are any cracks or areas where the pebbledash has failed, these must be repaired using either exterior filler, render repair or a textured paint to mimic the texture of the pebbledash. If you do not repair the pebbledash with the same texture, you can run the risk of these repairs being highly visible once you apply the paint.
When it comes to painting exterior masonry surfaces like pebbledash and roughcast, you must use a suitable paint that is designed for this use. These paints are called ‘masonry paints’ and are designed to be used on exterior brick, stone, concrete or render surfaces. Most standard masonry paints on the market today are acrylic-based masonry paints, which are designed to leave an attractive, coloured finish on exterior walls for anywhere from 1-10 years. The problem with these masonry paints is that not only do they have low breathability, they also absorb moisture, much in the same way as pebbledash that is failing. Once this moisture gets behind the paint film, it eventually becomes trapped, causing the paint to peel and flake.
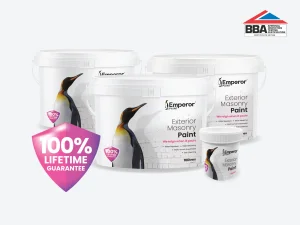
For this reason, Emperor Masonry Paint and its super hydrophobic technology were developed. Super hydrophobic technology creates an ultra water-repellent surface on exterior walls that causes water to ‘bead’ and fall off the surface before it can be absorbed into the wall.
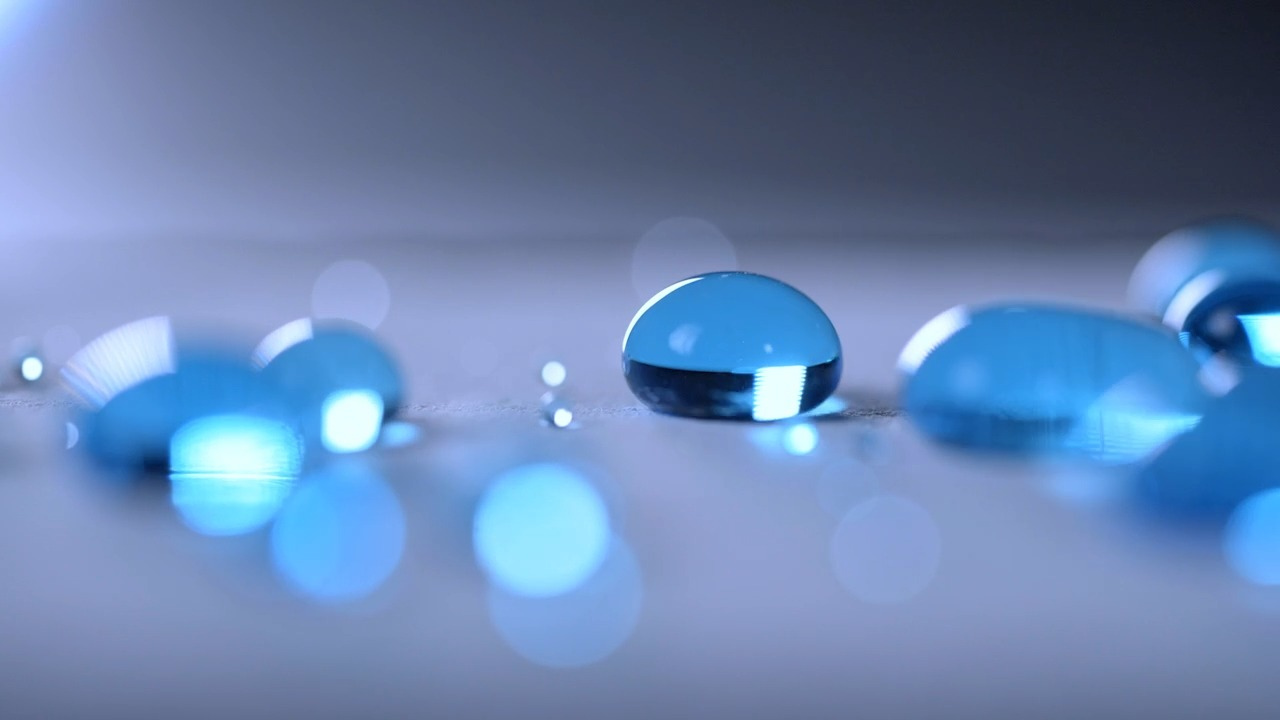
This, coupled with high breathability means that Emperor Masonry Paint will never peel or flake, as the moisture that is the primary cause of paint failure is prevented from building up inside the wall. The super hydrophobic surface that is created also means that surfaces stay looking like new long term thanks to self-cleaning properties. Not only is dirt repelled from the surface like water, preventing it from adhering to the wall, but any organic growth such as lichens and algae are discouraged, as the moisture this fungal growth requires isn’t present.
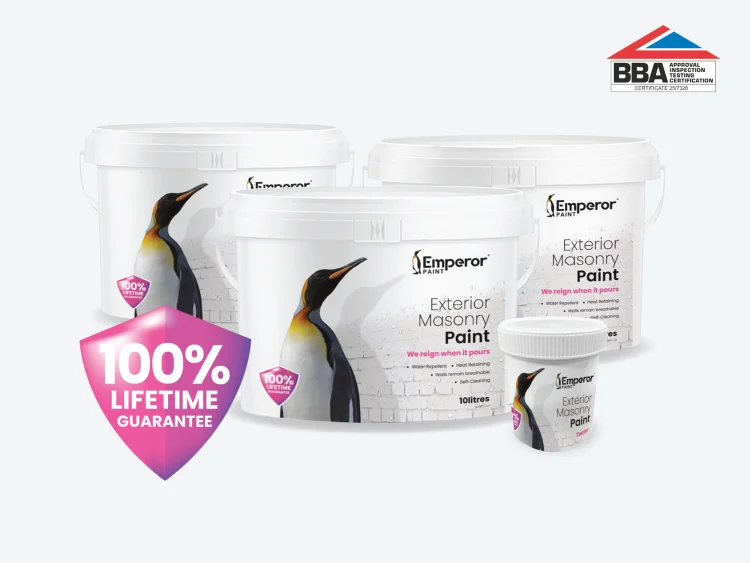
Emperor Masonry Paint is ideal for use on pebbledash for a number of reasons. Firstly, it helps protect pebbledash that is exposed to water seeping into the wall, by preventing this moisture from entering the render. This not only provides protected to previously damaged pebbledash, but also reduces the risk of any future damage to intact pebbledash and roughcast renders. Secondly, the self-cleaning properties of the paint ensure that the render stays clean and free from discolouration, which can be a big problem with textured renders such as roughcast and pebbledash due to their ability to hold dirt the small nooks and crannies.

This ability to keep exterior walls clean and dry provides Emperor Masonry Paint with extremely high durability. Independent testing found after 25 years of weathering there were no signs of deterioration or performance of Emperor Masonry Paint, showing it will not only perform for 25 years but likely far exceed this. That is why Emperor Masonry Paint comes with a lifetime guarantee, ensuring its performance for decades to come.
How To Paint Pebbledash
Anyone can paint pebbledash at home themselves, if they stick to a clear step-by-step guide on what process to follow. In any case, it is important that you pick a weekend where there isn’t any rain due. Not only will this ensure that the surface is dry in order to start painting but will also ensure that you do not experience any sudden downpours before the paint has fully dried. It is also important to ensure the temperature is above 5°C, as water-based paint will not dry in temperatures below this.
YOU WILL NEED:
- Masonry paint
- Primer (if required)
- Exterior cleaner
- Long-pile roller
- Paint scuttle
- Masonry brush
- Dust brush
- Dust sheets
- Window film
- Masking tape
- Exterior filler (if required)
- Filling knife (if required)
- Sandpaper (if required)
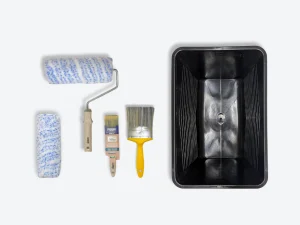
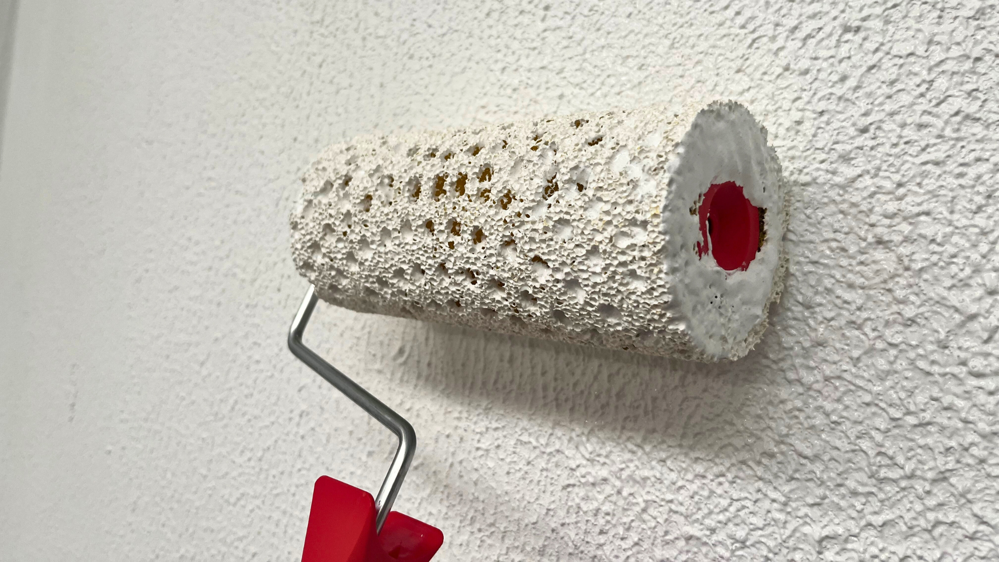
The equipment needed to paint pebbledash is similar to any other painting project with the difference being with the roller & brush. Ensure you get a long-pile roller and a masonry brush, as these are designed for heavily textured surfaces, allowing you both to paint them effectively and efficiently.
1. PREPARATION
Preparation is the single most important aspect of any painting project. If you do not suitably prepare the surface, the subsequent painting will experience a number of problems and can even cause the paint to fail.
Removing any dirt and fungus from the pebbledash is the first step you need to take. Use a dust brush or a hose pipe to clean down the surface and remove any visible dirt & dust from the wall.
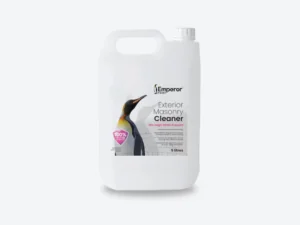
Ensuring the surface is dry, apply Emperor Exterior Masonry Cleaner. This is a fungicidal cleaner which kills fungal growth such as algae and lichens, ensuring that no growth occurs underneath the painted surface. Allow the cleaner to dry and be absorbed into the surface of the building for a minimum of two hours to fully disinfect the wall. You do not need to wash this off the wall once dry, as it will continue to do its job underneath the paint film.
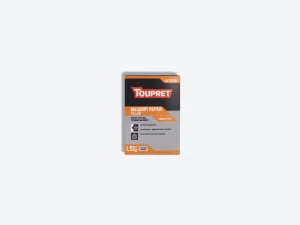
Once clean, it is time to assess the wall to see if any repairs need to be made. Larger areas of render that failed or delaminated away from the wall may need substantial repairs to be made by a rendering expert in order to prepare them to be painted. Any smaller defects or cracks can be repaired yourself using an exterior filler such as Toupret Exterior Repair Filler.
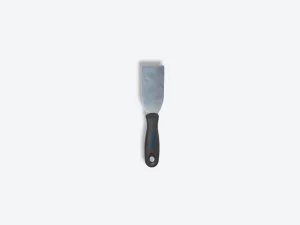
Simply start by removing any loose material from within the defect, as this rubble will prevent the filler from creating a solid hold within the hole. Once this has been done, you can fill the hole using the filler, working it back and forth using a filling knife until the defect is fully filled. This can then be sanded back using sandpaper to achieve the desire finish of the repaired area.
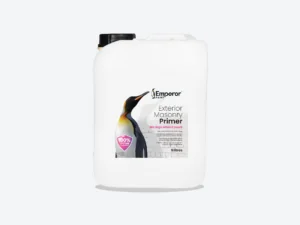
The next step is to apply a primer if the pebbledash is not already painted. You should always apply a primer on any non-painted surface, as the primer is what ensures the paint can adhere to the wall. Applying one-coat of Emperor Exterior Primer to the pebbledash at roughly 5m2 per litre. The coverage of the primer is reduced due to the larger texture it has to cover when compared to a smooth surface. Allow this to dry for 5 hours at 20°C, which may take longer at lower temperatures.
It is crucial to disguise any repairs you have made in order to ensure a seamless finish. Emperor Textured Basecoat can create any finish, allowing you to hide your repairs and preventing the need for costly rendering repair. Crucially, it is fully compatible for use as a basecoat with Emperor Masonry Paint, ensuring optimal performance. This can be applied directly to previously painted walls or to bare surfaces.
2. PAINTING
First, ensure you have a dust sheet down on the floor and apply masking tape to any windows and doors in order to get a beautifully neat finish.
TIP: Wrap drainpipes in newspaper as an easy way to protect them from getting covered in paint.
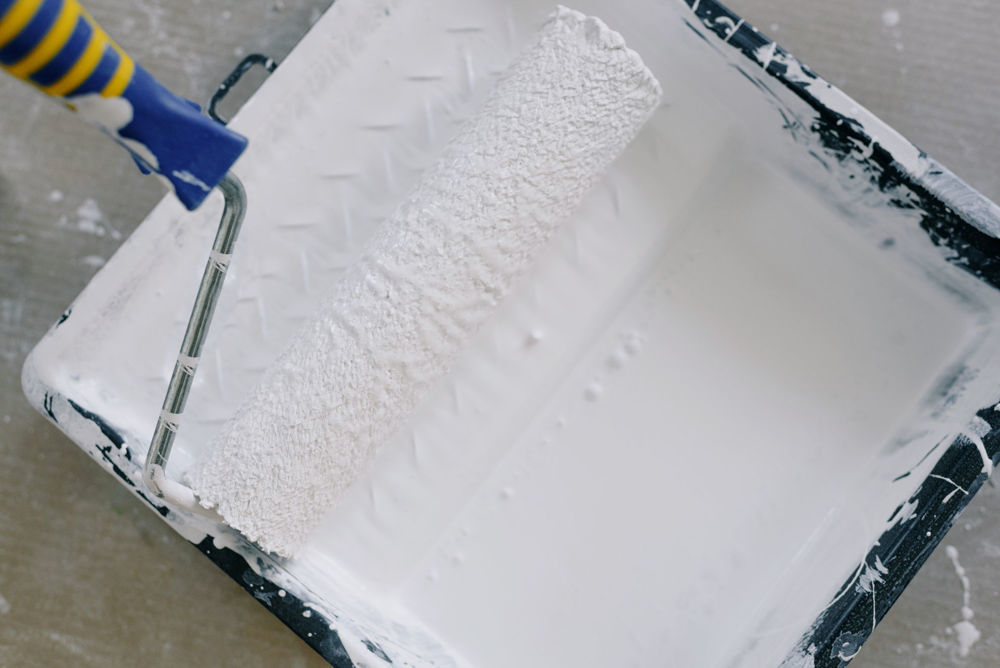
Starting at the top, work downwards and around the edges of the wall you are painting using a masonry brush. You want to apply Emperor Masonry Paint at roughly 3m2 per litre, which is half of the coverage you would expect on a smooth masonry surface. You can then use your long-pile roller to apply the first coat the rest of the surface, ensuring you work the paint into all of the small gaps in the pebbledash or roughcast. Work in vertical motions, to ensure the most even finish possible. If you would like, you can dilute your first coat of paint with 10% water to help application. This involves adding 1L of water to 10L of paint, for example.
Allow the first coat 6-8 hours to fully dry and be recoatable. While it will be touch dry and showerproof after 1-2 hours, the paint beneath the surface will still be slightly wet, so painting this before it has dried from the inside will reactivate the paint and cause you to have one thick layer of paint.
Once dry, you can then apply your second coat of paint, this time undiluted. Allow this to dry for another 6-8 hours, while in the meantime you can clean your brushes and roller using hot, soapy water.
Frequently Asked Questions
Q. WHAT ARE THE MOST POPULAR COLOURS FOR PAINTING PEBBLEDASH?
By far the most popular colour for painting exterior walls, whether they are pebbledash, roughcast, brick or stone is white. White is a timeless shade that works equally well on heritage properties then it does on a new build.
Emperor Paint ‘White’ offers a brilliant white finish that is beautifully bold and as strong as a white can get. Coupled with dark oak or black exterior trim, it creates a white finish that will stand the test of time and keep its brilliant white hue. Emperor Paint ‘Off-white’ is a slightly warmer and softer tone than a pure brilliant white such as Emperor Paint ‘White’, making it ideal if you want a slightly more subtle shade.
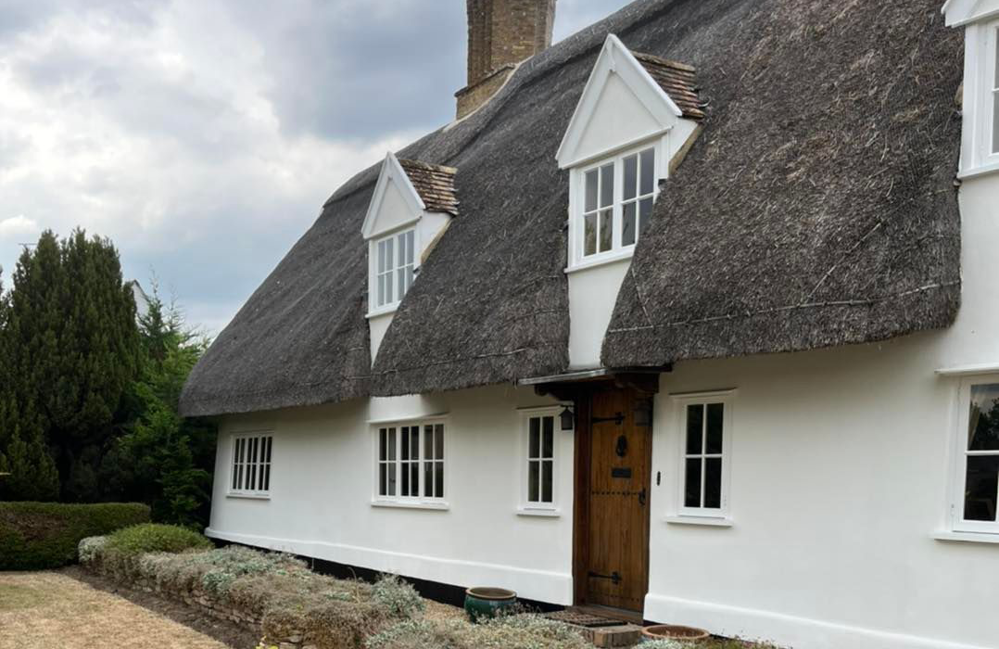
Emperor Masonry Paint in ‘White’.
Aside from white, the most popular exterior colours are creams, light greys & magnolia, which all offer a light, neutral tone to a property. Pastel shades such as light pinks, green and blues are rising in popularity however, as people begin to move away from the light browns and beiges, to give their property more character.
Q. IF PEBBLEDASH HAS LOW BREATHABILITY, DO I NEED TO REMOVE IT TO PREVENT DAMP?
Most pebbledash is primarily concrete meaning it has low breathability. As we have discussed, in short, if a material is not breathable, it will trap water vapour underneath the surface and thus cause a build-up of moisture. While only using breathable building materials is the ideal, many properties are built using a variety of materials which do not all breathe at the same rate. When it comes to breathability, this is important when there is a moisture source that is becoming trapped inside the material.
With exterior walls there are two main ways that moisture can build-up within an exterior wall and ultimately cause damp problems; condensation and water ingress.
Condensation forms inside a property from humid conditions, especially in rooms such as bathroom and kitchens. This can be reduced by improving the ventilation in these rooms and by applying anti-condensation paints that prevent the formation of this condensation on the interior walls of a property.
When it comes to water ingress, this is as a result of moisture absorbing through the exterior wall of a property. Even though pebbledash has good resistance to weathering, it will not completely prevent water from soaking into the wall and into the internal side of the property. When this water does eventually get into the pebbledash and the brickwork beneath, it can become trapped and thus create damp problems.
In situations such as this, it is important not to apply a standard acrylic-based masonry paint that has low breathability and that will not prevent this water absorption in the first place. By applying a water repellent, highly breathable masonry paint like Emperor Masonry Paint, not only is the moisture prevented from entering the wall, but the breathability of the pebbledash is not further impacted, meaning that the level of moisture is reduced and over-time the pebbledash can slowly release water vapour, which is then later released fully by the highly breathable paint.
Q. DO I NEED TO APPLY CLEAN AND PRIMER WHEN PAINTING PEBBLEDASH?
Firstly, let’s cover the cleaner. While it is only a requirement to apply a fungicidal cleaner to areas with visible green and organic growth, it is recommended to apply cleaner to all areas you are going to paint if you want to be certain that there is no fungus that can continue to bloom after the pebbledash is painted.
When it comes to primer, you only need to apply primer to any bare, unpainted areas. This includes areas you have filled or removed peeling or flaking paint from previous paintings of the pebbledash.
We hope we have answered any questions you may have had regarding pebbledash render and how to get the best out of it. If you have any other questions, get in touch with our team of experts who are on hand to assist you. You can chat to them by emailing [email protected] or calling 01254 936121. Alternatively, shop our range of ultimate performance exterior products today and get free delivery on all orders.

