How To Paint Masonry Properly – An Expert Guide
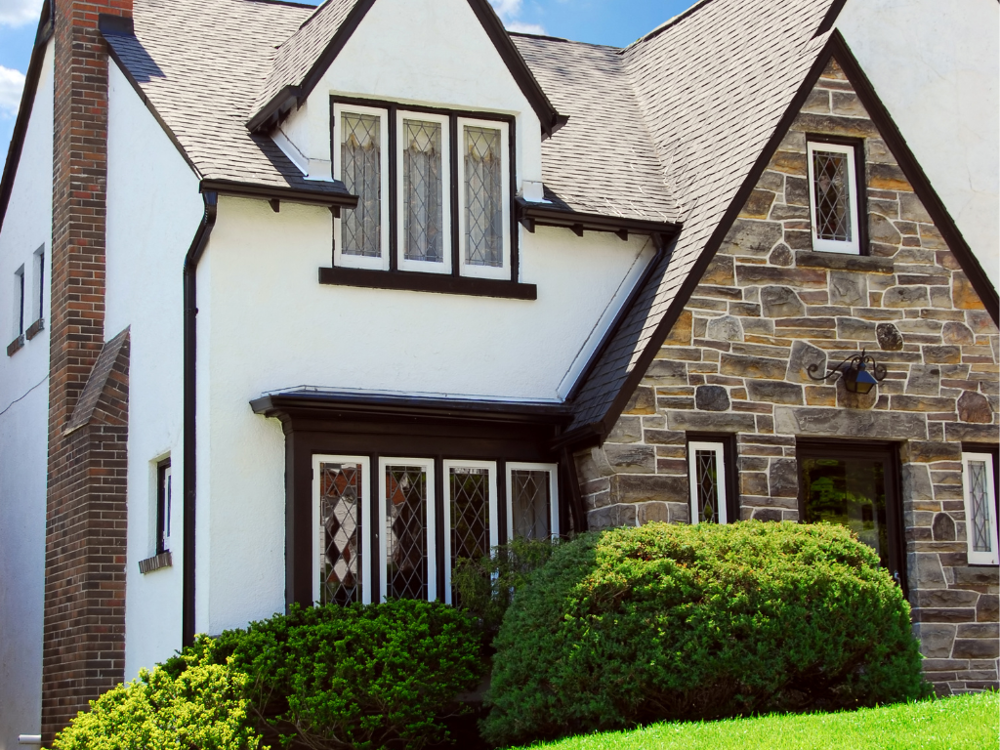
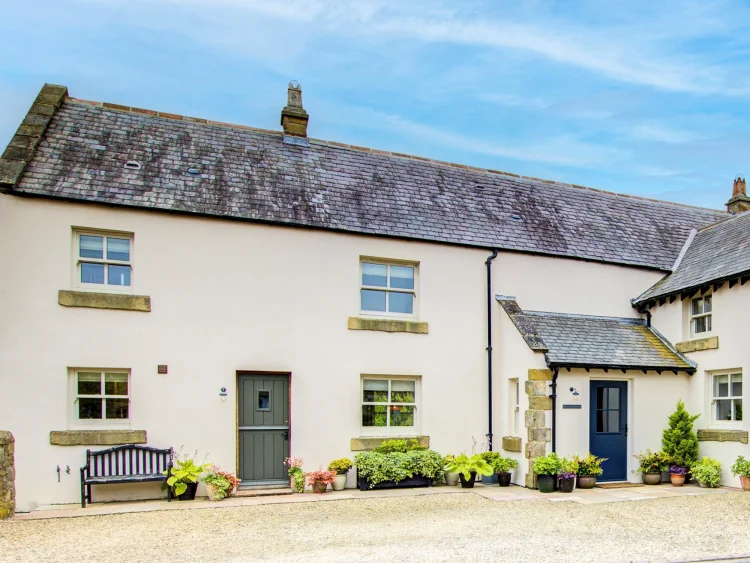
Painting masonry not only transforms the outside of your home but also protects it from the elements. When done incorrectly, however, the paint peels, damp can develop and the surface can end up needing refreshing within a few years.
The difference between a quick freshen up and a professional finish that lasts decades rather than years is good preparation, quality materials and the right application.
In this guide you’ll learn:
- The types of masonry paints on offer
- How to prepare exterior walls the right way
- When to prime and when it matters
- Common mistakes that cause paint failure
Step 1: Choose The Right Masonry Paint
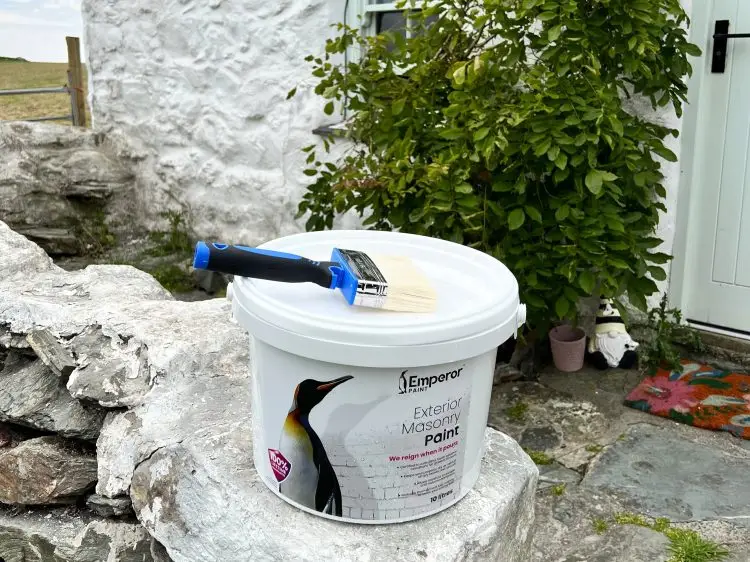
The first place to start when painting masonry is with the paint you will be using.
Regular emulsion will peel and fail when exposed to moisture and temperature changes, which is what masonry paints are specifically developed to withstand.
Masonry paints are typically:
- Thicker than interior paints to allow better coverage on the larger masonry surfaces they are used on
- Designed to be more flexible in order to allow for the contraction that occurs under some weather conditions
- Provide added durability to ensure they remain adhered to the wall under harsh conditions
- Offer varying levels of water resistance
- Offer UV protection to help reduce fading and discolouration
Masonry paints, as with all paints, vary in a number of ways which means picking the right one for you is the very first step in the decorating process. The main factors that need to be considered when deciding which masonry paint to use are weather resistance, breathability and durability.
1. Water resistance
Water resistance measures how effectively a masonry paint prevents rain from soaking into exterior surfaces.
Brick, stone and render are all porous, meaning they absorb moisture over time. Often this water can become trapped behind the paint film, leading to damp, peeling paint and damage.
The level of resistance to water a paint has depends on the formulation. Limewash provides minimal resistance as it is designed to wear gradually over time. Standard masonry paints offer moderate resistance by slowing absorption, which is why they are often referred to as ‘weatherproof’, as they can uptake moisture gradually, particularly in wetter months.
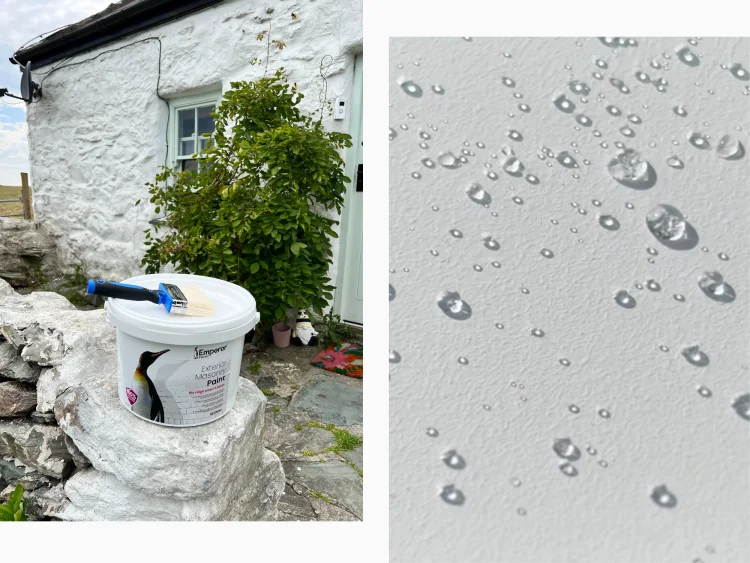
Newer formulations can create a super hydrophobic surface that causes rain to form beads that roll off before they can soak into the masonry, helping it reduce water absorption.
2. Breathability
While water resistance protects against moisture entering the wall, breathability allows trapped vapour to escape. Without breathability, moisture builds up behind the paint layer leading to a multitude of issues.
Traditional mineral paints like limewash are naturally highly breathable as they bond to the surface, while many standard masonry paints, particularly acrylic-based, reduce breathability by forming a plastic film over the surface.
Newer technology, especially silicone-based formulations, achieve higher levels of breathability through an open-pore structure, helping walls manage moisture levels more effectively and remain stable over time.
3. Durability
Durability is determined by how well a paint balances water resistance and breathability. These two aspects work together, one keeps water out, the other lets vapour escape.
The single biggest cause of masonry paint failure is moisture. When rainwater or internal moisture becomes trapped behind a paint film, pressure builds until the coating lifts and peels away.
Different paints offer different lifespans. Limewash offers short-term performance as it gradually weathers and must be reapplied regularly. Standard masonry paints can vary widely, lasting anywhere from 1-2 years up to 10-15 years. Having said this, often lifespans are based on best possible conditions.
When water resistance and breathability are properly balanced, the result is a paint that prevents peeling and keeps your home dry long-term.
Emperor Masonry Paint is designed around this principle. Its super hydrophobic technology repels rain, while maintaining high breathability (SD value of 0.03), allowing water vapour to pass through. This combination ensures water cannot cause the paint to fail even in harsh weather conditions. Independent testing has shown it to withstand weathering for 25 years without a change in appearance or performance, which is why it’s backed by a lifetime guarantee.
Learn more: The science behind Emperor Masonry Paint
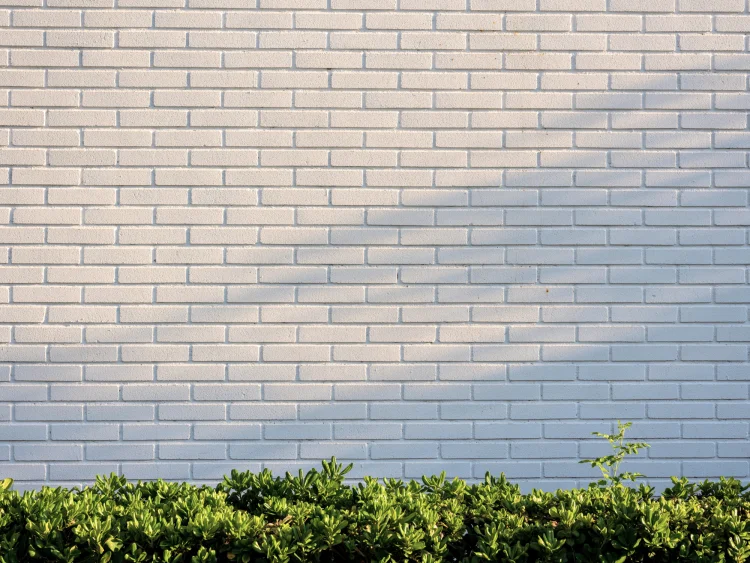
Step 2: Prepare Masonry Ready To Paint
Getting the surface ready to paint is the foundation of a lasting finish. Even the best paint needs a sound, clean and dry base to perform at its best. A few careful steps before painting ensures your masonry stays looking its best not just for years to come, but decades.
1. Clean the surface
Brush away dust, dirt and loose material as a starting point.
For areas that show mould or green growth, apply a fungicidal masonry cleaner such as Emperor Masonry Cleaner using a brush or roller.
By cleaning the surface, you are making sure the paint properly bonds to the surface without dirt that can weaken its adhesion.
Taking time to clean the wall ensures the paint forms a solid bond with the masonry, reducing the risk of problems later on.
2. Make repairs
If you are painting masonry, you want to ensure it is sound by filling any cracks or holes.
If repairs are needed, use a good exterior filler such as the Toupret Masonry Repair Filler.
It’s a good idea to overfill the hole to ensure that you compensate for shrinkage. Sand this back using a 120-grit sandpaper to get a perfectly smooth surface ready to paint.
On any areas where paint is peeling, remove this using a scraper. If the scraper doesn’t work use a wire brush.
3. Prime bare masonry
The most common mistake we see homeowners make is not priming surfaces properly before painting.
If you are painting a bare masonry wall that doesn’t already have paint on it already, you must prime it. A primer helps the paint stick to bare surfaces, ensuring long-term performance.
Not only should you use a primer if needed, but you should also check you are using the right one. Just as with paint, the type of primer matters. Choose one that matches your paint system, as primers are designed for specific needs and formulations.
Apply an even coat to all bare areas and allow to dry completely before painting.
Step 3: Painting Masonry
Now that the surface is clean and sound, it’s time to start painting. The key to success is working methodically. Following a clear plan ensures you apply the paint correctly, achieve an even finish and make your life easier.
1. Check conditions
It’s really important to make sure you are not painting in conditions below 5°C as this will stop the paint drying. With the great British weather, always check the forecast for showers and plan your work around a clear, dry spell.
2. Applying masonry paint
Starting from the top of the masonry, use a paint brush to cut in around the edges first as these can then be rolled over with a roller to create an even finish.
Once this is done, use your long-pile masonry roller to apply a thin but even first coat of paint. We always recommend using an extension pole which helps you apply paint much more effectively than a roller alone.
The aim of this first coat is not to create a solid colour finish but to build an undercoat that will help the thicker topcoat adhere. Once you have finished your first coat, leave to completely dry as per the manufacturer’s instructions.
Did you know? Drying time and recoat time are different. Paint may feel dry after a few hours, but the recoat time is often longer.
Apply the second coat slightly thicker but once again as evenly as possible to the masonry, taking care to ensure you get the best possible finish.
The last coat of paint can then be left to completely dry before you remove your masking tape and admire your handy work.
Common Mistakes To Avoid
Painting the outside of your home isn’t something many people have done before, so it’s easy to make mistakes from time to time. To help you avoid making them, here are some of the most common we see.
- Painting wet walls – Paint needs a dry surface to properly dry so always check the surface to see if it is dry to the touch with no visible moisture.
- Skipping primer – Using primer on bare surfaces is key. Skipping this step risks the paint not sticking to the wall and your hard work peeling in a matter of months.
- Rushing drying times – We’ve all done it, but not waiting for the recommended time between coats can weaken the bond of the paint to the wall.
- Not applying a second coat – Masonry paint is designed to be applied in two coats. Not applying the second coat leaves the surface exposed, reducing its performance and ultimately the lifespan of the paint.
Frequently Asked Questions
What is different about masonry paint?
Masonry paint requires more durability and water resistance to cope with the higher demands of exterior masonry. That’s why you cannot use any emulsion paint on exterior walls as it will simply peel off with rain.
Can you paint damp masonry?
Surfaces must be completely dry before painting, especially with a water-based paint like the vast majority of masonry paints are.
You should not paint a damp exterior wall until you have resolved the issue that is causing the moisture.
This is usually due to penetrating damp, which is caused by water ingress on an exterior wall.
Wait until the temperatures rise and the wall has a chance to dry out and paint the masonry while it is dry. Alternative causes of moisture could be a water leak or a crack in the exterior wall.
Does masonry paint stop damp?
With penetrating damp, water is absorbed through the masonry which is then transferred into the property.
By preventing this moisture from absorbing into the exterior wall, while maintaining high breathability, damp problems can be significantly reduced by using a specialist masonry paint like Emperor Masonry Paint.
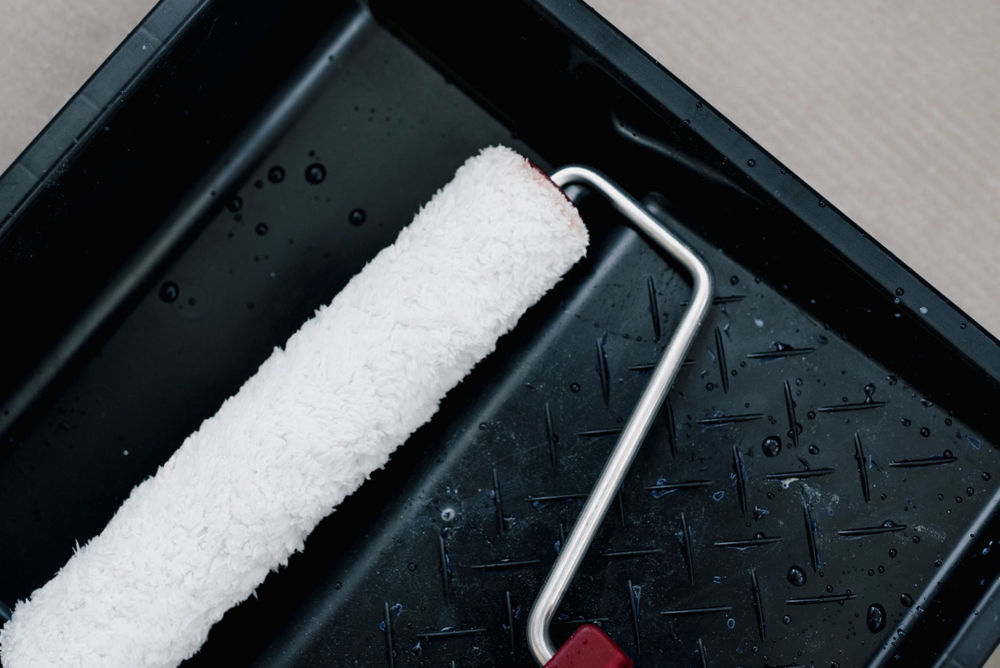
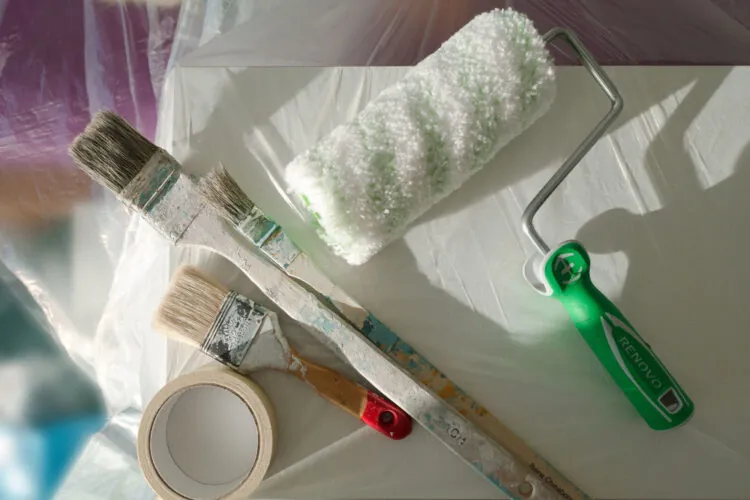
What is the best roller to paint masonry?
Paint rollers come in a range of sizes and sleeve thickness, which is known as pile or nap. For painting a rough exterior such as masonry, it is crucial that you use a long-pile roller, which often have a nap of 3/4″ or 1″ thickness.
This thicker roller sleeve allows more paint to be picked up, which can then be deposited on the masonry in order to achieve a good coverage over larger areas.
We would recommend using a roller of 9″ or larger in order to get a good coverage over an exterior wall. Using an extension pole will also allow you to apply masonry paint as easily as possible without putting strain on your body.
If you have more questions, we are here to help with our in-house team of experts. You can chat to them by emailing [email protected].
Ready to get started? Take our handy quiz to get personalised recommendations and find the right products for your home, or order a sample of Emperor Masonry Paint to kick-start your project.
This article was written by the Emperor Technical Team, a group of experts with an average of over 25 years experience in the building industry. They work daily with homeowners, tradespeople and specification professionals to deliver practical, expert guidance that promotes long-term results, supports wall health and helps create homes that are prepared for the future.
DOWNLOAD YOUR PLANNER
Plan your project the right way
Our Project Planner and Checklist helps you plan every step before you begin, from surface prep to drying times. Save time, reduce waste and take on your project with confidence.