How To Fill Exterior Wall Holes
Holes in exterior walls can be a problem both for the appearance and the performance of your home. Our full guide on how to fill exterior wall holes covers everything you need to know to keep your home protected and looking beautiful.
In this guide we will cover:
- What Can Cause Holes In Exterior Walls?
- How To Fill Holes In Exterior Walls
What Can Cause Holes In Exterior Walls?
Holes can occur on exterior walls for a wide range of reasons, with some being more obvious than others.
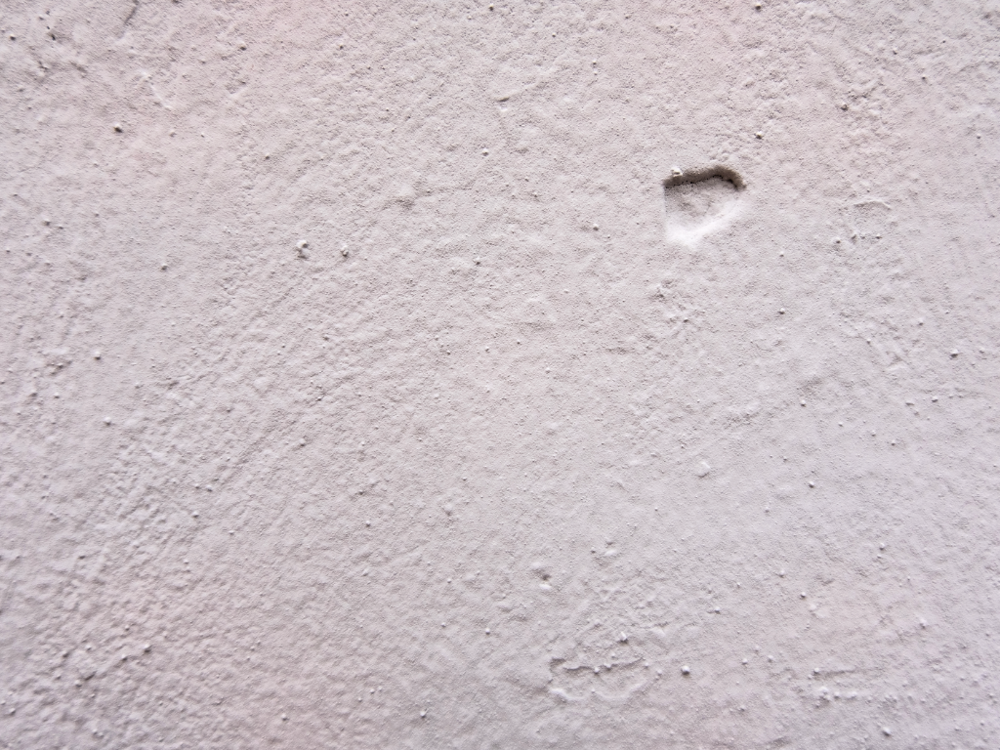
The most simple explanation for exterior holes developing is from fixings such as aerials or hanging baskets that have been removed. Once the hole is opened, the patch of wall is left prone to water entering, which is why it is important to fill the hole as soon as possible.
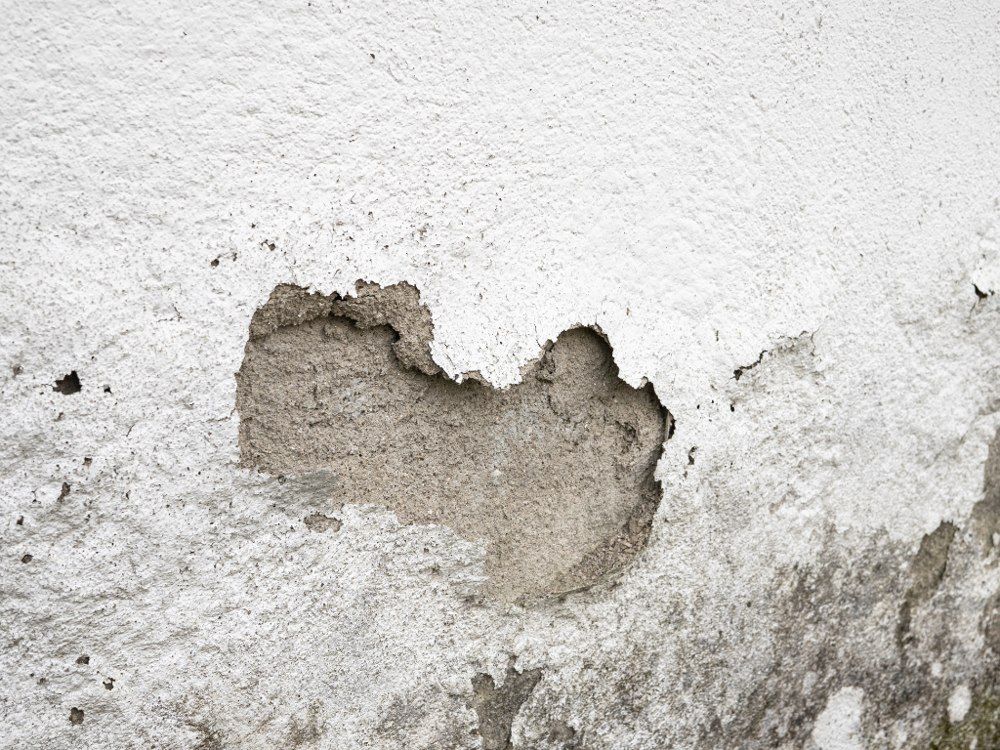
If the hole hasn’t been created by any fixings or damage to the wall, the other explanation could be that the wall has suffered from movement or another form of external damage. There are three main reasons behind damaged exterior walls; settlement, thermal movement and moisture.
Each of these issues result in the exterior wall moving, which can cause exterior render to become unsound and eventually delaminate from the wall for example. The holes caused by this movement can enlarge over-time, causing other parts of the wall to become damaged as water enters the wall.
How To Fill Holes In Exterior Walls
In order to prevent any moisture getting into your home and leading to damage and damp problems, it is crucial to fill any exterior holes. The process for filling the hole can depend on the type of wall you have and the depth of the hole.
If you have an exterior wall that you plan to paint such as brick, concrete or render, the best way to fill exterior wall holes is to use a masonry filler. These are designed for external use, providing a strong, durable surface that can be painted.
If you have a bare masonry wall that you plan to keep its natural finish, you need to ensure any repairs are made discretely. In many cases, holes on natural brickwork are from missing pointing that has dropped out. The best way to repair this is to use a mortar mix to repoint the area.
Our how-to guide is going to primary focus on filling exterior walls using a masonry filler, as filling exterior walls before painting them is the most common scenario.
You will need:
- Masonry filler
- Emperor Textured Basecoat (if required)
- A wire brush
- Sandpaper
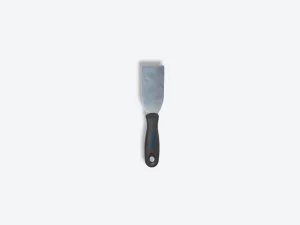
- Filling knife
- Masonry cleaner
- Power washer (if possible)
- Masonry paint
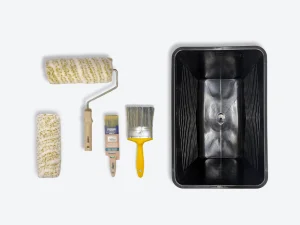
- Long-pile roller
- Primer (if required)
1. Identify the hole
As with any project, accurately establishing what work needs to be carried out is the first port of call.
At this point, check the surface is sound. On render, tap on the surface in various areas. If you can hear that the surface is hollow, you must remove this as eventually this will completely fail if it isn’t fully repaired. If repairing a brick wall, check that all the pointing is sound and remove anything that is not fully adhered to the wall.
2. Clean the surface
Before you make any repairs to the exterior wall, we advise cleaning the surface as the cleaning process can help dislodge any loose material.
You can clean the wall using a hose-pipe, pressure washer (on a low pressure setting) or a stiff brush and hot soapy water. This stage of the cleaning process removes any surface level dirt and grime.
Allow the wall to dry before applying a masonry cleaning solution such as Emperor Exterior Cleaner that contains a fungicide. A fungicidal wash will kill any organic growth that is on the wall, ensuring once painted that this organic growth will not regrow. If the wall doesn’t suffer from organic growth then this step is optional, however it is recommended in order to reduce the risk of issues. Simply apply the cleaner to the surface using a brush, roller or pump-sprayer and leave for a minimum of two hours to fully dry.
3. Remove debris
The key to creating a strong and solid repair is to ensure the hole you are filling is completely sound and there is no rumble that can impact the filler from adhering to the surface. Remove all debris and clean inside the hole as much as possible to create a sound base to repair.
4. Fill the hole
You can use any suitable exterior masonry filler to repair cracks, ensuring it’s appropriate for the size and depth of the hole. Some fillers have depth limits, so it’s worth checking before use. Using a good-quality filler reduces the risk of cracking or failure. An example of a good-quality masonry filler is Toupret Masonry Repair Filler.
Apply the filler with a filling knife, working it well into the crack. Slightly overfill to allow for shrinkage as it dries. Drying can take up to 48 hours; once dry, sand back to a smooth, flat finish, blending the repair into the surrounding surface where possible.
5. Textured wall repair (if required)
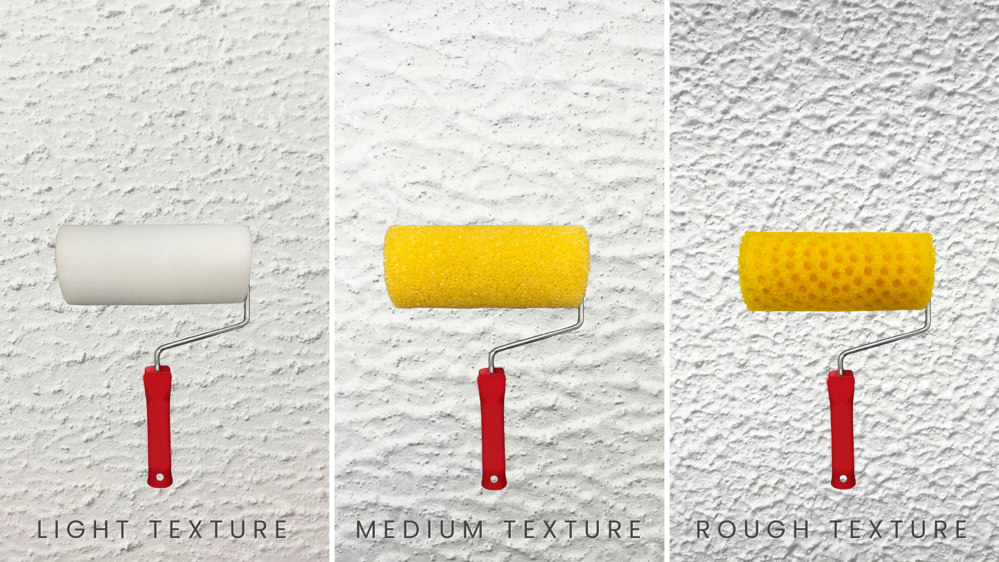
If you can’t match the repair to the original surface, such as on textured walls, Emperor Textured Basecoat is an ideal solution. It’s designed to disguise repairs on textured surfaces and create a finish that blends with the existing wall. Three roller options are available: smooth, medium, and rough, allowing you to match different textures.
Apply the basecoat using a roller or brush and leave it to dry. Once dry, it forms a solid, textured surface ready for painting. If using one of our Emperor Textured Rollers, the more you roll, the more it creates a smoother finish; for a heavier texture, roll over the area just once or twice.
6. Painting
Once repairs are complete, you can redecorate the wall to refresh its appearance. Using a super hydrophobic masonry paint, such as Emperor Masonry Paint, helps protect the wall by preventing water absorption and reducing the risks of movement that can cause cracks.
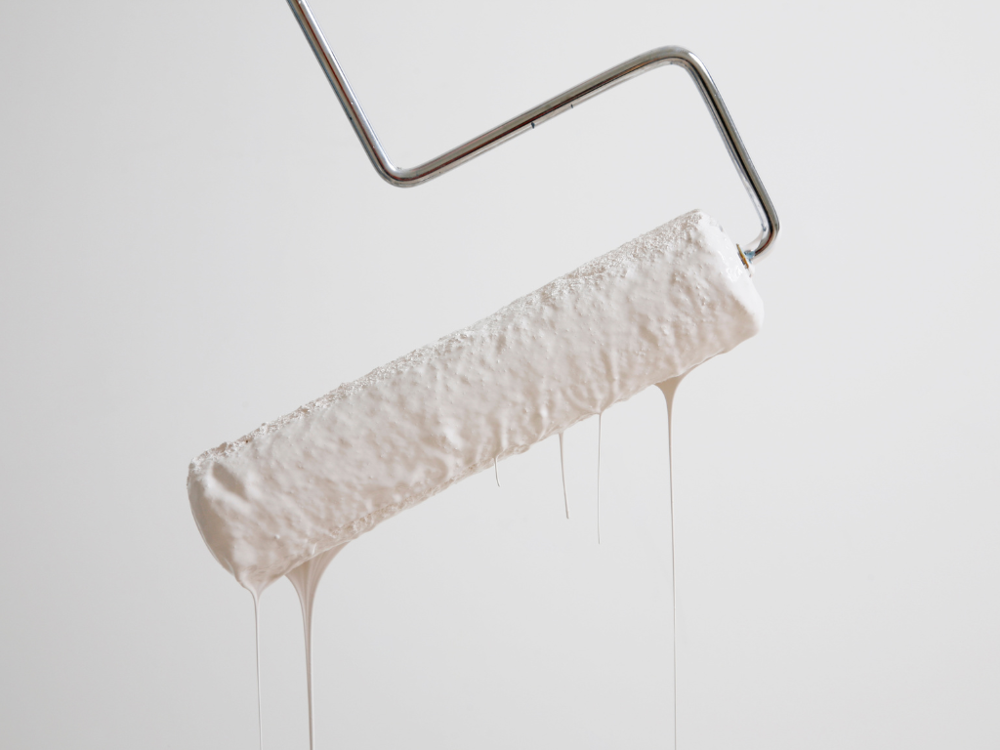
For exterior walls, use a long-pile roller to ensure paint reaches all areas of the masonry. Prime any bare or filled areas first to aid the adhesion, using a compatible primer such as Emperor Masonry Primer. Cut in the edges with a brush, then paint the main wall with long, vertical roller strokes.
Allow the paint to dry fully before applying a second coat. This can take up to 8 hours, depending on the temperature.
We hope we have answered any questions you may have had regarding how to fill exterior wall holes. If you have any other questions or would like advice, feel free to get in touch with our team of experts who are on hand to assist you. Contact them today by emailing [email protected] or calling them on 01254 936121.
Recommended products from this guide