Painting K-Rend Render – The Ultimate Guide
Painting modern renders like K-Rend requires a different approach to many traditional forms of render and masonry. The wrong paint or poor preparation can risk moisture issues, damage to the render and peeling paint.
In this guide, we will cover:
- What K-Rend is and how it differs from other renders
- Which paint is suitable to paint K-Rend
- How to prep and paint K-Rend yourself
What Is K-Rend?
K-Rend is a leading brand manufacturing external renders for exterior walls.
As with many render manufacturers, K-Rend produces a range of external renders that are designed for different building needs, including:
- Silicone renders
- Cement renders
- Acrylic renders
Across these render types, K-Rend also offer a range of finishes, colours and textures to meet both performance needs and design preferences.
While the company manufactures several systems, K-Rend is best known for its silicone render range, which is now their most recognised product amongst many homeowners.
K-Rend is not the only manufacturer of silicone render. Other established brands who produce silicone-based systems include Weber and Remmers.
Silicone Renders
Silicone renders have become one of the most popular choices for finishing exterior walls in recent years.
Unlike more traditional forms of render, they are designed to last for decades, often up to 25 years.
This is thanks to their ability to flex with the movement of external walls and their high breathability.
Breathability is key. Many traditional renders trap moisture inside the wall as they aren’t highly breathable.
If moisture cannot escape, it will build underneath the surface, eventually causing any render to ‘blow’, causing large cracks and crumbling render that will expose the bare brickwork beneath.
These gaps allow further water to enter the render, causing deterioration that will get progressively worse with time.
Learn more: What is water ingress
Painting Silicone Renders
As silicone renders are engineered with advanced silicone technology, painting isn’t as straightforward as painting brickwork or cement render.
Most standard masonry paints are acrylic-based. While affordable and widely available, they come with two problems when used on silicone render:
- Low breathability – Acrylic-based paints tend to trap moisture due to low breathability, which cancels out the natural breathability of silicone render.
- Poor adhesion – Acrylic-based paint does not bond well to silicone due to the water repellent properties of silicone renders.
In practice, this often results in paint peeling, flaking or bubbling within a few months. Our Technical Team frequently see cases of this where a standard masonry paint has been used without the homeowner knowing the difference.
This is why only using a silicone-based masonry paint is essential when painting any silicone render.
Learn more: Everything you need to know about painting render

Why Would You Paint Silicone Render?
You may be wondering why would you paint a silicone render if they offer a coloured external finish?
There are a number of reasons why you may decide painting your K-Rend is the best option:
1. DISCOLOURATION
Some silicone renders can be prone to discolouration and algae growth, which can significantly impact the kerb appeal of the property.
The discolouration of the render itself has often been attributed to sunlight and UV rays, which can cause the colour of the render to fade over time.
Algae and other green growth are microorganisms that can attach themselves to the render in moist conditions, causing large amounts of staining to the render, making it look dirty. Instead of continuously cleaning render on an annual basis, which some render manufacturers recommend, an alternative is to paint them.
2. A CHANGE OF COLOUR
Sometimes we all fancy a change, which is why painting render can be very popular, especially in a newly bought house that you are looking to stamp your personality on.
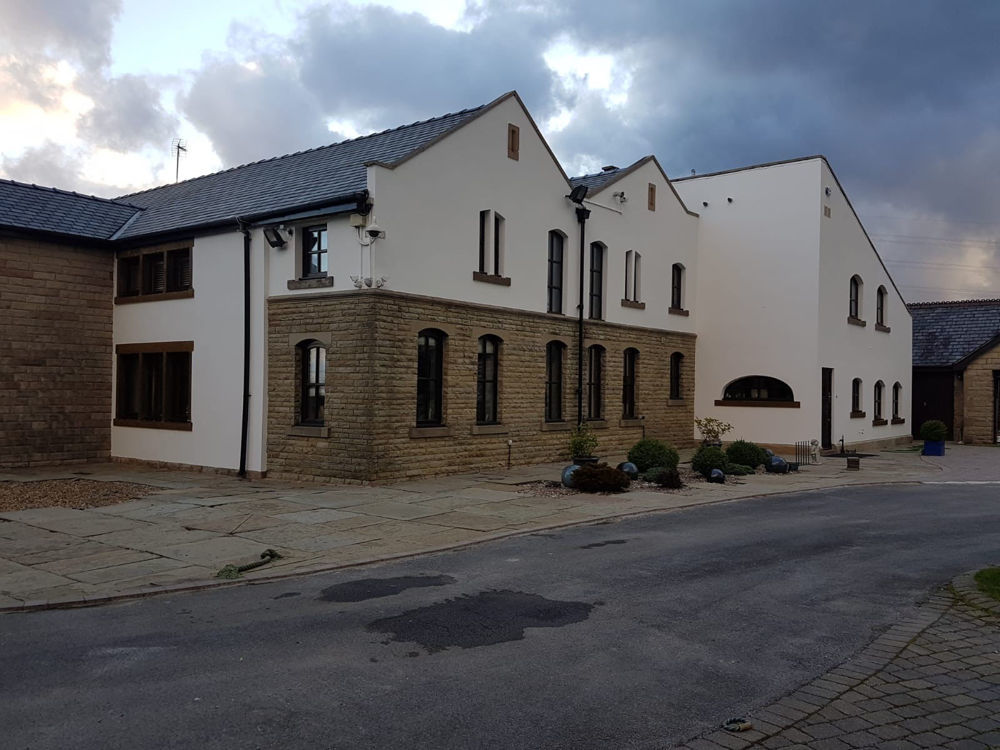
Silicone masonry paint comes in a wide range of colours that can completely transform the look of any property, whether it’s a traditional period home or new-build.
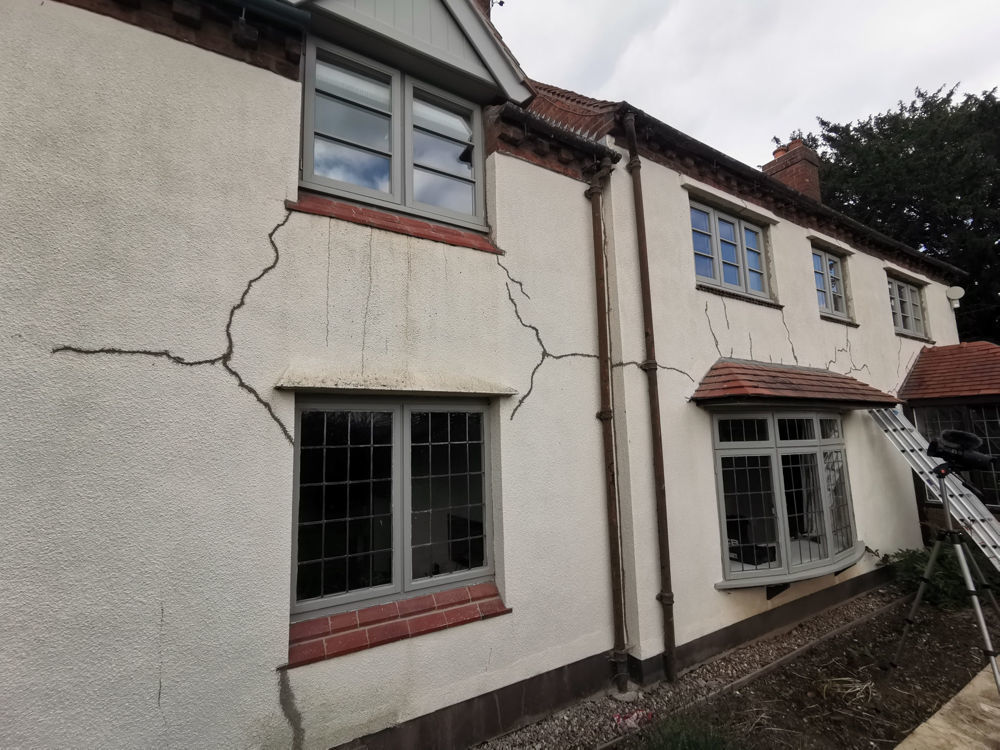
3. TO COVER CRACKS
If cracks or other signs of damage have appeared on your render, repairing these and then applying a masonry paint is an effective way of restoring the render to its former glory.
It is important to note that fixing any defects is crucial first before you apply paint as these will simply re-appear in no time if not properly dealt with.
What Silicone Masonry Paints Are Available
To maintain the benefits of silicone render, a silicone masonry paint should be used that maintains full breathability while also offering weather protection.
When choosing a paint, look for:
- Breathability – The lower the value, the higher the breathability. A truly breathable masonry paint will have an SD value of below 0.5, although to be highly breathable it should be below 0.1.
- Water repellence – Silicone masonry paints all have a level of water repellence, but some formulations are super hydrophobic, meaning they cause water to simply roll away, keeping your walls dry.
- Durability – Standard masonry paints last anywhere from 1-15 years. Silicone masonry paints can exceed 25 years.
- Independent testing – Always check the independent testing of a paint, so you know the performance claims are proven. UKAS accredited testing is the strongest indicator that a paint will perform as promised.
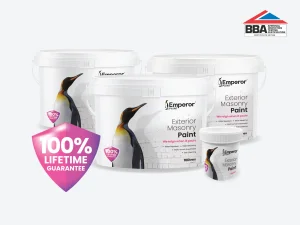
There are a number of silicone masonry paints available. Emperor Masonry Paint is one example, which is super hydrophobic, highly breathable (SD value of 0.03) and comes with a lifetime guarantee.
Learn more: How nano-technology reinvented masonry paint

How To Paint Silicone Render
If you are looking to paint silicone renders, it is important that you take the correct steps to ensure long-term performance.
While it can often be tempting to leave out a step when decorating, each stage of the process is crucial if you want the best possible results.
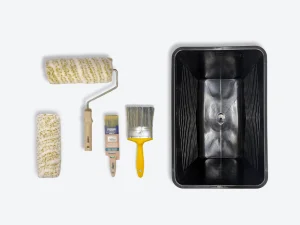
YOU WILL NEED:
- Silicone masonry paint (eg. Emperor Masonry Paint)
- Long-pile roller
- Paint tray or scuttle
- Paint brush
- Dust sheets
- Window film
- Masking tape
- Exterior filler and filling knife (may be required)
- Scraper (may be required)
- 120 grit sandpaper (may be required)
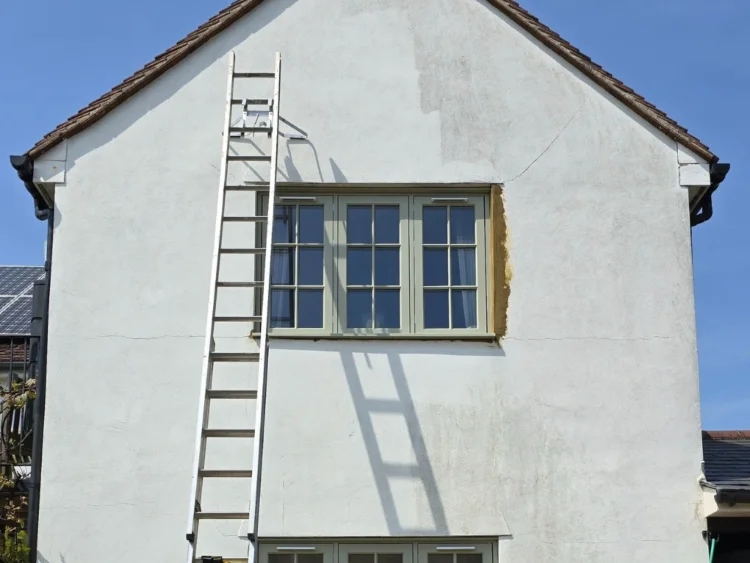
1. PREPARATION
Preparation is one of the most important parts of the decorating process. If you do not ensure the render is ready to paint, you will inevitably experience problems with paint peeling or flaking off the render.
- Repair defects – Fill cracks and holes with a suitable masonry filler. Remove any loose debris, then apply filler to the area. Once dry, sand smooth with 120 grit sandpaper.
- Remove peeling paint – If the silicone render has been painted before, scrape away any loose or peeling paint with a stiff brush or scraper.
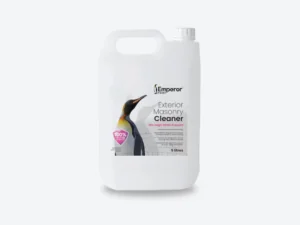
- Clean – Dirt and organic growth needs to be removed properly if you want results that last. Start by washing down the walls to remove the surface level. Once clean, apply a fungicidal cleaner to the render to remove any organic growth.
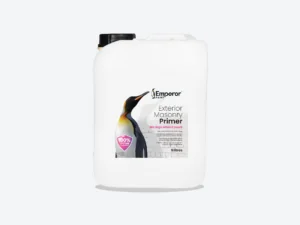
2. PRIMING
With a pre-coloured silicone render you do not need to apply a primer. A cement render that has not previously been painted would require a primer however.
3. PAINTING
It’s important that you ensure you are not painting in particularly low or high temperatures. Temperatures below 5°C will prevent the paint from drying, while temperatures above 20°C will cause the paint to dry too quickly, which will result in the paint drying at different rates, leaving an uneven finish.
Starting from the top of the render, use a paint brush to cut around the edges of the wall, before moving on to the larger areas with your roller.
Apply two full coats of your chosen silicone masonry paint, making sure you allow the first to dry properly before adding the second.
Learn more: How to paint the outside of your house
Frequently Asked Questions
Can you paint over damp render?
Render must be completely dry before painting.
If your render has been suffering from large damp patches, simply allow these to dry before painting.
Over time, by waterproofing render this damp will subside as the escaping water vapour and the water repellency gradually reduces the moisture levels.
Does K-Rend have to be painted?
No, K-Rend does not have to be painted. Many K-Rend renders are pre-coloured and designed to work as a topcoat.
Many homeowners choose to paint K-Rend later either to refresh discolouration and staining or to change the colour of the house.
How do you clean K-Rend?
Cleaning K-Rend and other renders is generally advised after a few years as they can begin to discolour and develop staining in some cases. The render can be cleaned using a pressure washer in order to dislodge any surface-level dirt and grime.
The problem is, some discolouration and staining can’t always be removed from the render. This is why painting render is often the best solution in order to cover staining and prevent it recurring in the future.

If you have more questions about painting your K-Rend render, our in-house team of experts are always here should you need us. You can reach them by emailing [email protected] or calling 01254 936121.
Ready to start? Take our handy quiz to get personalised recommendations and find the right products to paint silicone render in a few clicks.
This article was written by the Emperor Technical Team, a group of experts with an average of over 25 years experience in the building industry. They work daily with homeowners, tradespeople and specification professionals to deliver practical, expert guidance that promotes long-term results, supports wall health and helps create homes that are prepared for the future.
FEATURED PRODUCTS