How To Paint The Outside Of Your House Like A Pro
Painting the outside of your house is one of the most effective ways you can transform its appearance.
It isn’t just about appearances though. Done properly, it protects your walls, prevents damp and adds years of life to your home.
This guide combines decades of experience in the trade from our Technical Team to show you exactly how to paint exterior walls for long-lasting results.
Whether you have brick, render or pebbledash, this step-by-step guide will show you exactly how to tackle your project, so you can get results that you can be proud of no matter your experience level.
Before You Start Painting The Outside Of Your House
Choose the right paint
When it comes to a project as big as painting the outside of your home, using the right paint is essential.
There are a number of masonry paints available that are designed for exterior materials like exterior bricks, stone and render. But as with all things, not all paints are made the same.
Despite popular belief standard masonry paints can absorb moisture over time. This coupled with generally poor breathability causes water to build up. This moisture can cause a number of issues including peeling paint, damp and green growth.
A good exterior paint should do two things:
- Prevent moisture from soaking in
- Allow moisture inside the wall to escape.
This balance of water resistance and breathability is what stops paint peeling, allows the wall to stay healthy and keeps the outside of your home looking its best for years to come.
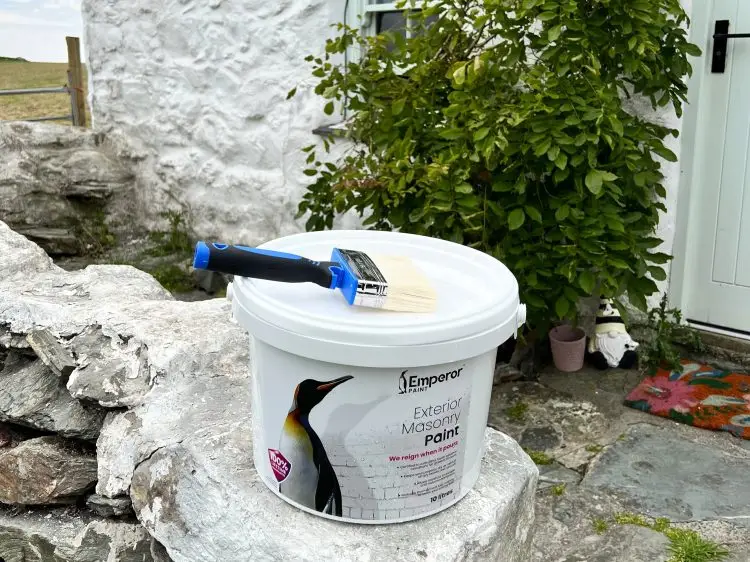
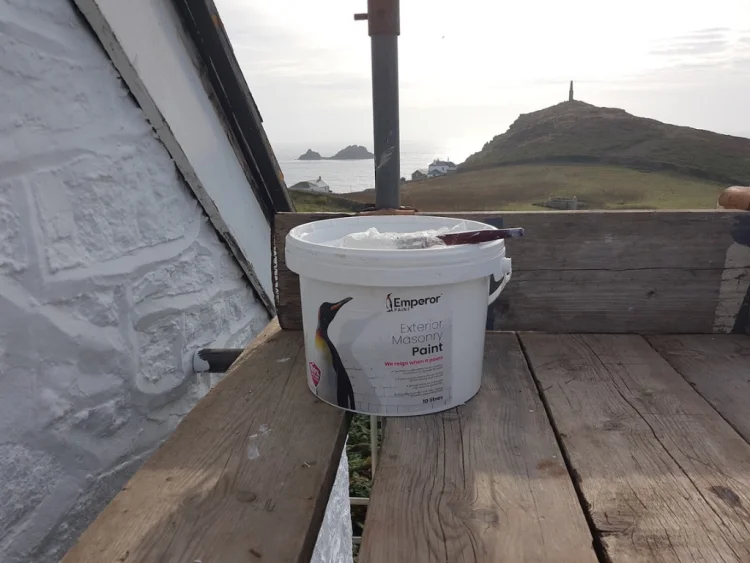
Emperor Masonry Paint for example has a 25 year proven performance from independent testing, where it showed no signs of deterioration in appearance or performance. Due to this, it’s also backed by a lifetime guarantee for complete peace of mind.
Learn more: A guide to masonry paint.
The weather forecast
The weather can play a huge role in how well your project goes, particularly here in the UK.
Aim for conditions that are warm, dry days with temperatures between 5°C and 25°C. Below 5°C and the paint won’t dry, above 25°C it can dry too quickly.
We always recommend if the temperature is above 20°C to avoid painting in direct sunlight. It is also important to keep an eye on your weather app to get an accurate forecast and check for any showers that are due.

How much paint you will need
Before you begin your project, accurately calculating how much paint you’ll need is a simple task that can ensure everything runs smoothly.
Always check the instructions of the masonry paint you are using to see what its coverage is. This is usually in m² and tells you how large an area one-coat of paint will cover based on a smooth surface.
When the surface is textured, such as roughcast or pebbledash, this will reduce the coverage rate. The heavier the texture, the lower the coverage rate will be.
To estimate coverage:
- Measure the height and width of each wall.
- Multiply to get the total in m².
- Remove 1-2m² for each door or window
- Multiply by the number of coats required (usually two).
It’s always a good idea to buy a little extra to make sure you don’t run out of paint.
Step 1: Gather Your Materials
Having the right tools for the job will not only give you the best results, but will make achieving them easier.
Here’s a list of things we recommend you’ll need to paint the outside of your house.
- Masonry paint
- Primer (if required)
- Fungicidal cleaner
- Long-pile roller
- Extension pole
- Masonry brush
- Paint scuttle or tray
- Dustsheets
- Masking tape
- Wire brush
- Sandpaper
- Masonry filler (for repairing cracks and holes)
- Pressure washer or hosepipe
While it can be tempting to buy cheap tools, this is often a false economy. Cheap tools can make decorating more time consuming, physically harder and are less likely to survive past their first use.
Spending a relatively small amount extra can get you tools that will save you time and best of all can be reused again and again.
Always check that your tools are designed for exterior use too. Brushes, rollers and masking tapes for interior use won’t be ideal for use when painting rough, exterior walls.
It’s also worth considering at this stage how you’ll reach the outside of your home. If scaffolding isn’t an option, check our guide on how to paint the outside of your home without scaffolding.
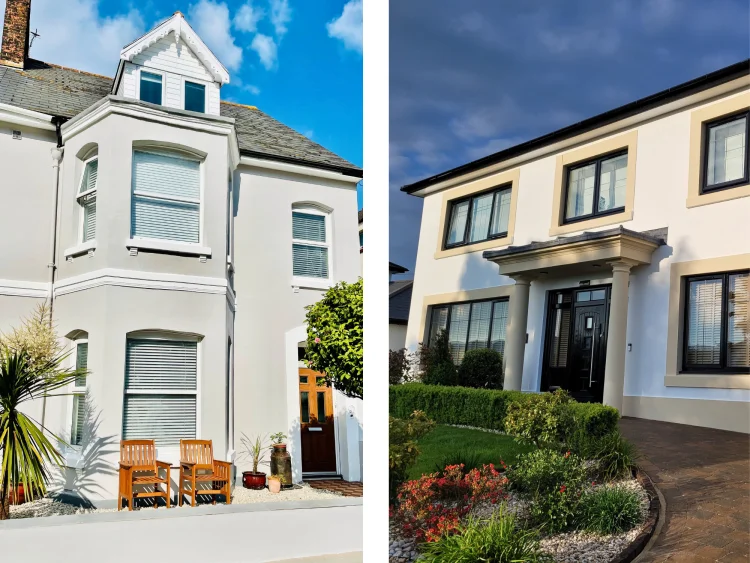
Step 2: Choosing Your Colour
Deciding on the right colour is just as important as choosing the right masonry paint.
Always take into consideration the direction in which your house faces the sun, south-facing homes receive a more golden light, making colours seem slightly warmer, whilst north-facing houses receive a blue-ish light, making colours seem slightly cooler.
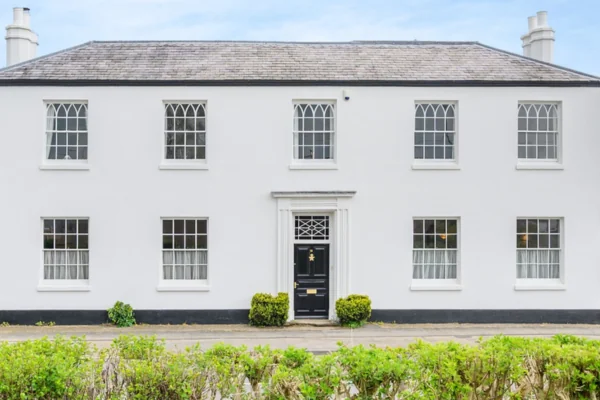
Warmer shades like Witney Cream or Pale Stone suit more traditional properties because the softer tones make the house feel more innkeeping with its history.

Courtesy of @zipdec (left) and Alastair Friend (right)
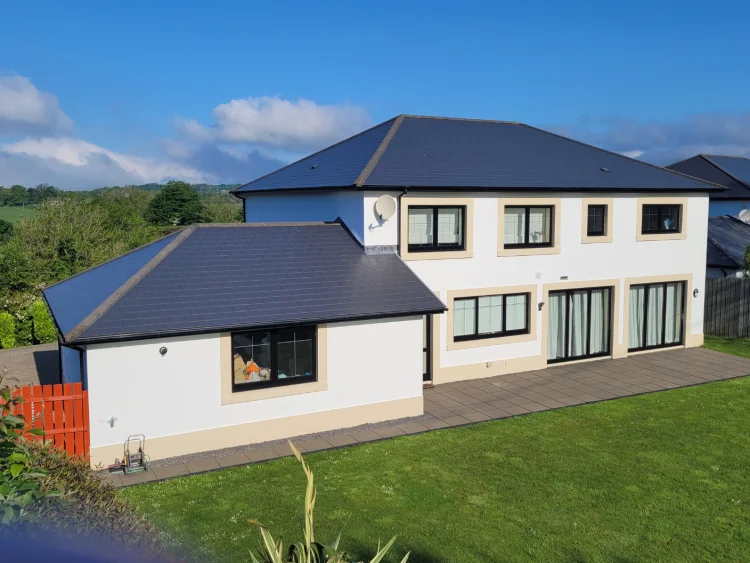
In contrast, White and Light Grey bring a more contemporary edge because of their clean, minimal look. These cooler, neutral tones are often used for modern styles to give a more structured, polished appearance.
Courtesy of Harriet Bates (left) and Andrew Barnett (right)
When picking colours, we recommend always testing real paint samples.
On-screen representations and printed colour charts do not reflect the true colour. With a real paint sample you can see how a paint colour will look directly on your home and on each side of your house, so you can be 100% colour confident.
Learn more: How to find the right exterior colour for you

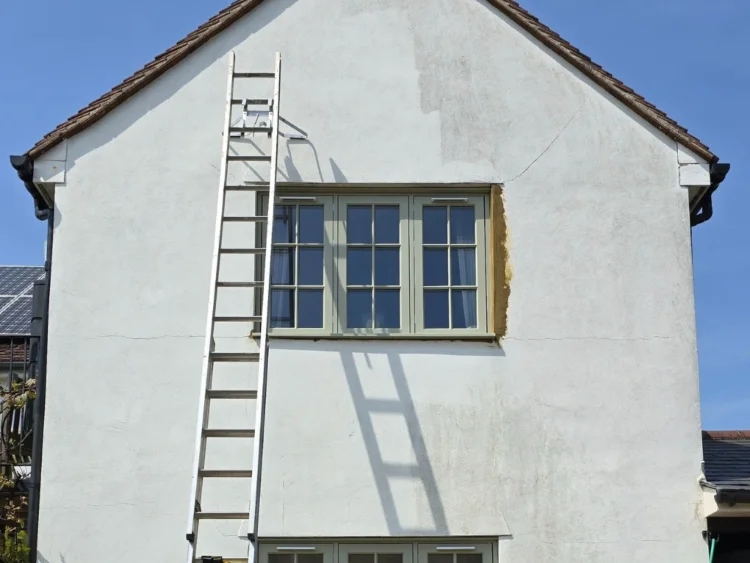
Step 3: Preparation
Proper preparation is often overlooked because it’s not the most exciting part of the project, but it’s the most important.
Good preparation is often what sets apart professionals and the average DIY’er, not only improving the finish but how durable it is.
We know it can be tempting to rush into painting, but preparation can make or break your project.
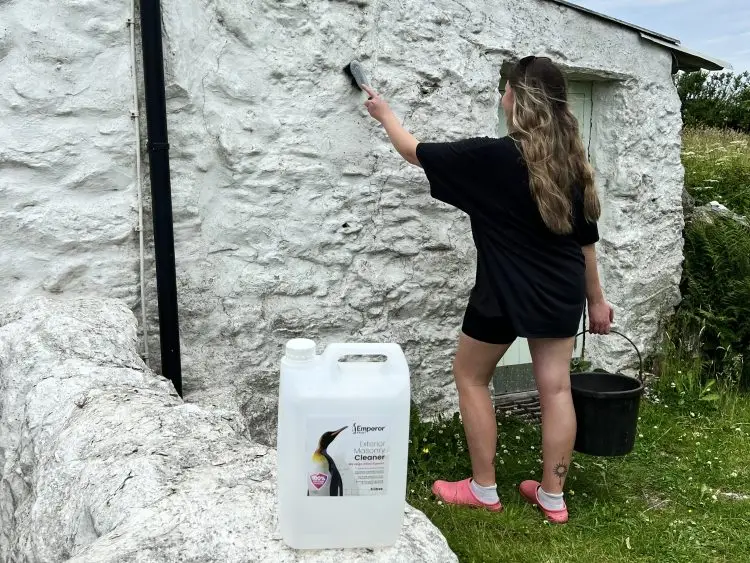
Clean the surface
Before you pick up your paint brush walls must be free of dirt, algae, mould and loose paint.
- Use a pressure washer, hosepipe or brush to remove surface level dirt.
- Apply a fungicidal wash like Emperor Exterior Cleaner to kill organic growth.
- Allow the surface to dry fully.
Repair cracks or damage
Inspect your house for cracks or flaking paint and repair them before painting. This ensures the surface is sound, so your paint can create a strong adhesion to the outside of your house. If you don’t repair cracks, water can enter the wall and cause damage over time.
- Remove any flaking and loose paint back to a ‘firm edge’ where no more paint can be removed.
- Use a high-quality masonry filler to fill cracks or holes – once dry, sand back to your desired finish.
Protect Surrounding Areas
Before starting your project, cover any surfaces that you don’t want paint to get on. While most masonry paints are water-based, if they get on to paving, UPVC or wood, they can be difficult to remove once dry.
- Apply masking tape to window frames and doors.
- Lay dustsheets over patios, tarmac and plants – surfaces are much easier to cover than clean.
Apply Primer If Necessary
If you are painting a bare, unpainted wall you must apply a primer before painting. This helps the paint stick to the wall and maximise it’s performance.
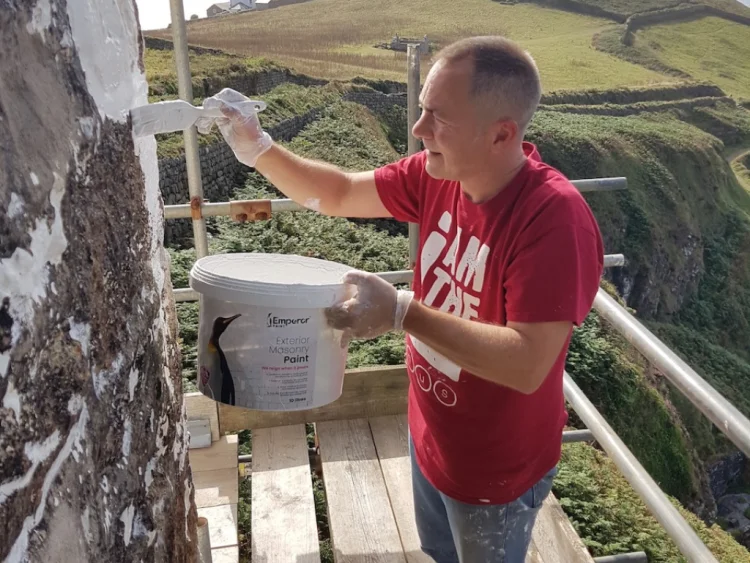
Step 4: Painting
Now that your walls are cleaned and prepped, it’s time for the exciting part, the painting.
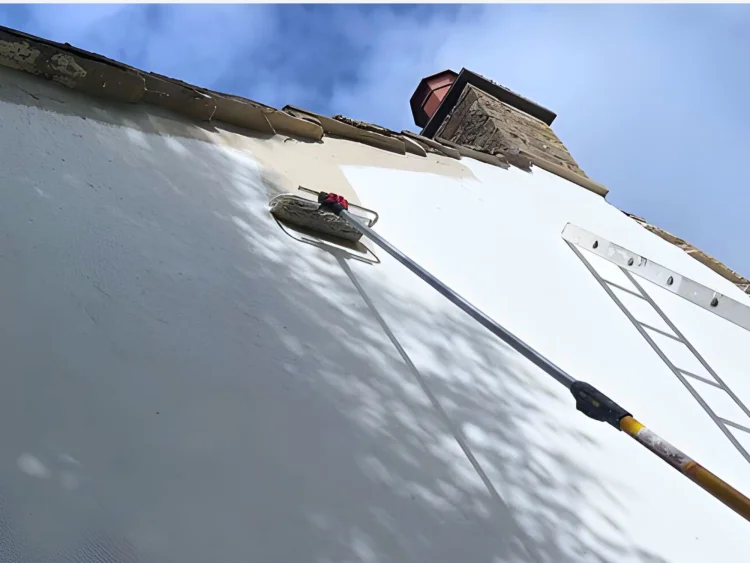
First coat
Start by cutting in around the edges, windows and doors using a masonry brush. Then, use a long-pile roller to apply the first coat of masonry paint in long, even strokes to avoid any patchiness. Using an extension pole not only helps you reach difficult areas but also reduces strain on your arms.
It’s always best to start from the top of the wall and work down as this avoids dripping paint running down the wall.
It’s also recommended to add a small amount of water (around 10%) to the first coat can help it spread more easily.
Second coat
Before starting your second coat, you must allow your first coat to dry. When looking at the instructions of your chosen paint, it will give a drying time and a recoat time. The drying time (usually 1-3 hours) is the time before the paint is touch dry. The recoat time (usually 5-10 hours) is the time before you can apply your second coat. The key difference is that when a paint is newly touch dry, the inside of the paint film is still wet.
Once the first coat is completely dry apply a second coat. This layer should be applied without diluting in order to ensure the paint can perform as designed.
Remove the tape before the paint fully dries to and clean your brushes and rollers immediately with water.
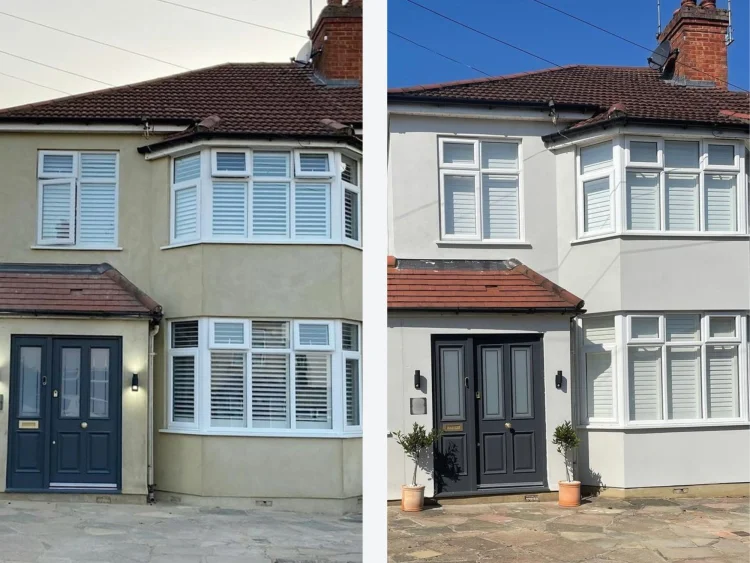
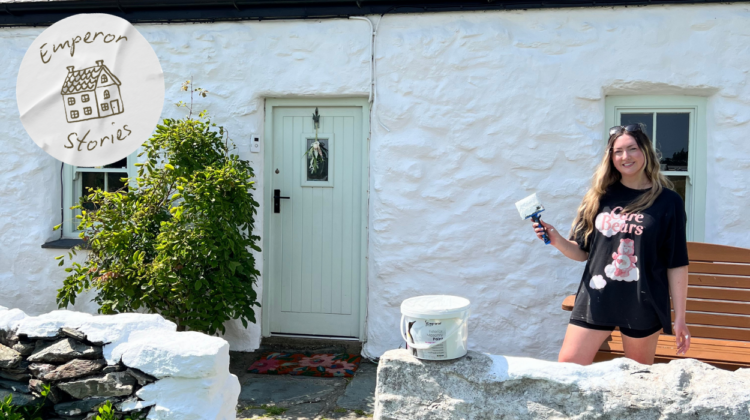
Courtesy of @thehousethatalicebuilt
Painting your house outside doesn’t have to be overwhelming. With proper planning, quality materials and the right technique, you can achieve a finish that even a pro would be proud of.
If you have more questions, we’re here to help with our in-house team of experts. Chat to them by emailing [email protected] and get tailored advice to your home.
Ready to start? Take our handy quiz to get personalised recommendations and find the right products for your project or get your colour chart to find the perfect colour for your home.
This article was written by the Emperor Technical Team, a group of experts with an average of over 25 years experience in the building industry. They work daily with homeowners, tradespeople and specification professionals to deliver practical, expert guidance that promotes long-term results, supports wall health and helps create homes that are prepared for the future.