How To Paint Exterior Walls
Painting exterior walls may seem like a daunting task, but with the right guidance it’s something anyone can do themselves.
In this guide we’ll walk you through the full process and detail everything you need to know, so you can create the home of your dreams.
Before You Start Painting
Before you pick up your brush, there are a few things to consider that will help ensure your project runs smoothly.
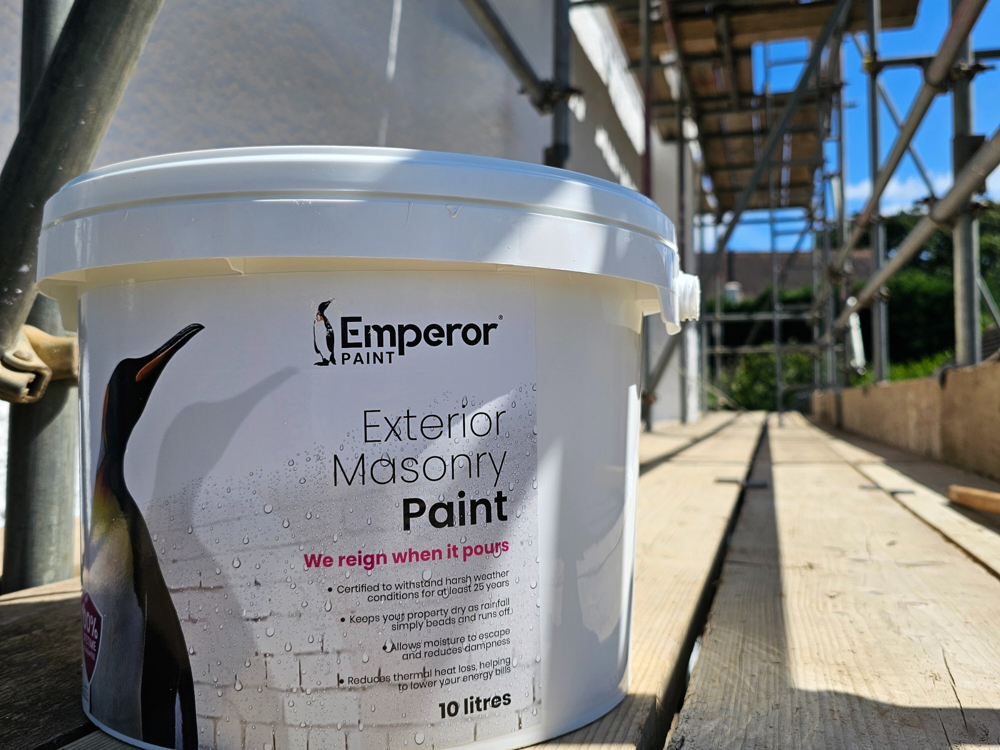
1. WHAT PAINT SHOULD I USE?
Before you start, you need the right paint for your exterior walls. For this, you will need a masonry paint, which are designed for bricks, stone and render.
A good masonry paint should:
- Prevent water absorption to keep your exterior walls dry.
- Have high breathability to allow water vapour to escape.
When choosing a paint, always look for independent test data to prove performance. This ensures you know exactly what you are applying to your home and that it will protect your exterior walls for the long term, not just look good in the short term.
Learn more: A guide to masonry paint
2. SHOULD I CHECK WEATHER FORECAST?
When it comes to projects such as painting exterior walls, ensuring you have checked the weather forecast is essential.
The ideal weather conditions are warm, dry days. For most paints that are designed to be applied to exterior walls the temperature must be above 5°C when you apply them. This is because the water that needs to evaporate in order for the paint to dry is unable to do so. Similarly, it is recommended to avoid painting in direct sunlight when the temperature is above 25°C as this can cause paint to dry too quickly.
Remember to always choose dry days where there is little chance of rainfall. Generally, late spring into early summer is the best season to carry out exterior projects.
You also need to check the weather in order to know what the drying time of the paint you are using will be. Drying times are often based on 20°C – the lower the temperature, the longer the paint will take to dry.
3. CAN I PAINT EXTERIOR WALLS MYSELF?
Painting exterior walls is absolutely something that you can do yourself. By following the guidance of our team of experts you can get results that even a pro would be proud of.
Not only will we give you all of the key information you need in this guide in order to do it yourself, but if you ever have any issues or questions we have a dedicated Technical Team who are always on hand to answer any questions you may have.
How To Paint Exterior Walls: Step-by-Step
1. USE THE RIGHT TOOLS
When painting exterior walls, your tools are essential not only for achieving the best results but also making the job easier for you. High-quality tools can allow you to paint more efficiently and achieves the best finish.
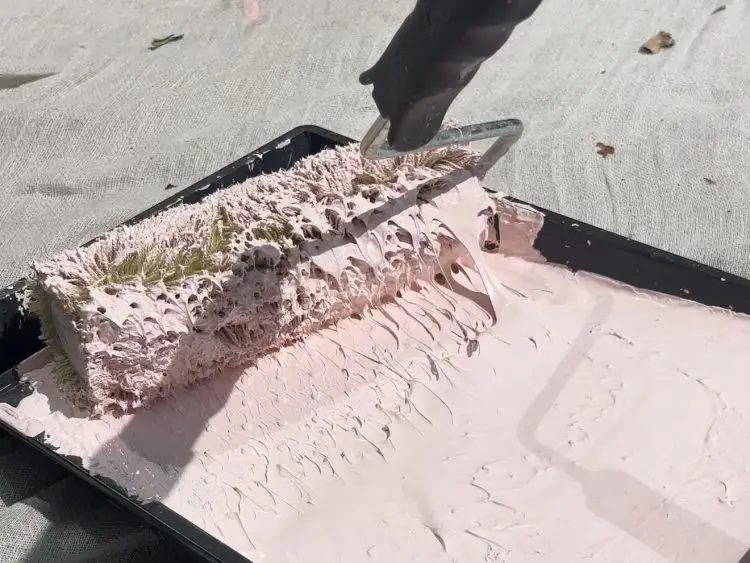
We recommend using trade quality decorating tools, particularly when it comes to your brushes and rollers and these are essential to making your life as easy as possible. When painting exterior walls, we recommend using a long-pile roller which has long-fibres that are designed for painting exterior walls.
Here’s a handy list of all of the tools you may need for your project:
- Long-Pile roller
- Masonry brush
- Dustsheet
- Paint scuttle
- Masonry filler
- Filling knife
- Sandpaper
- Wire brush
- Paint scraper
- Masking tape
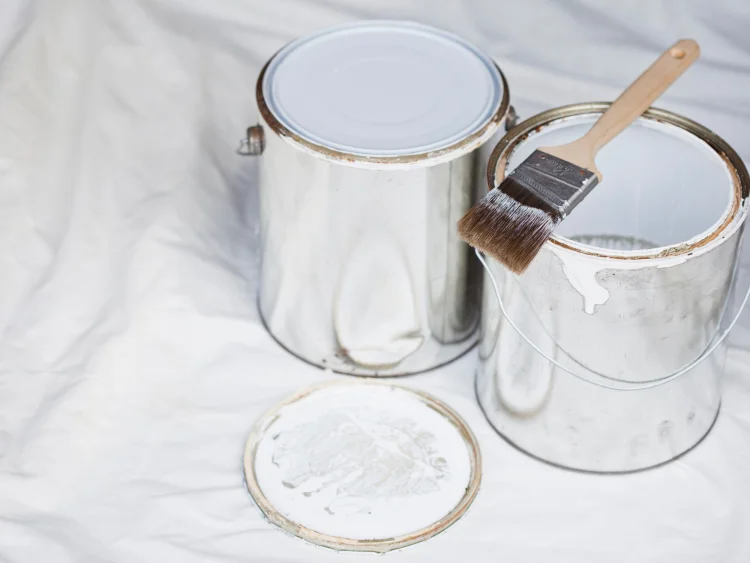
2. CLEANING
Cleaning exterior walls is one of the most important parts of the process, however it can often be overlooked.
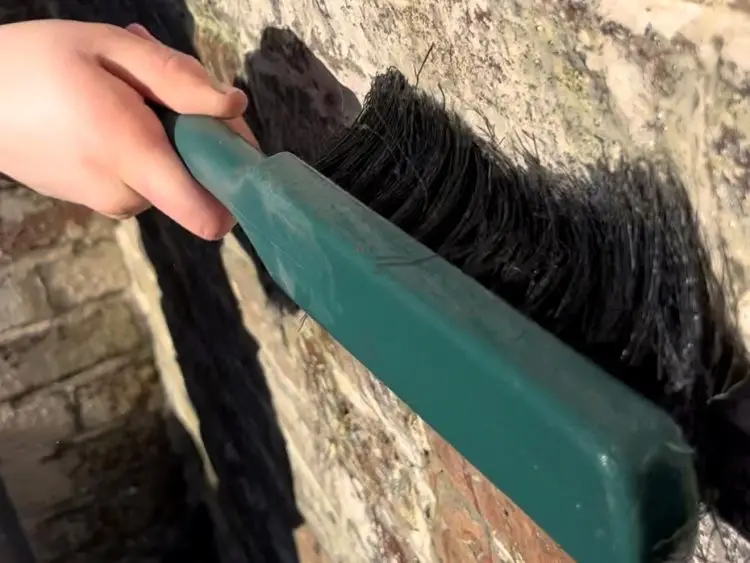
Cleaning is a two step process. Firstly, start by washing the masonry down with a pressure washer (on a low pressure), hosepipe or a stiff brush and hot water. This first step ensures that surface level dirt is removed from the wall and ensures that there is nothing that can prevent the paint properly adhering to the wall.
If you are using a pressure washer, use a low pressure to avoid causing any damage to the exterior wall. If you are cleaning a lime render or sandstone, we recommend using a steam cleaning process to help limit damage and reduce the water absorbed by the highly porous surface.
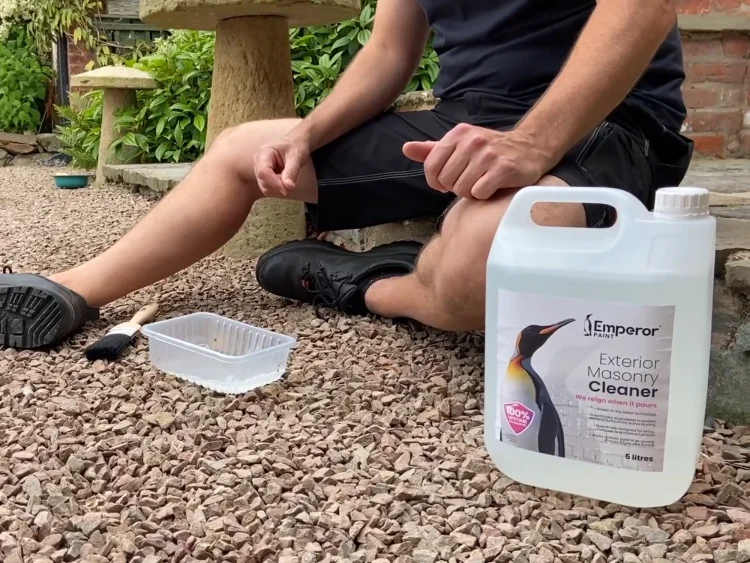
Then apply an anti-fungicidal cleaner to the wall. Anti-fungicidal cleaners help to kill organic growth such as algae and mildew, preventing it causing problems in the future.
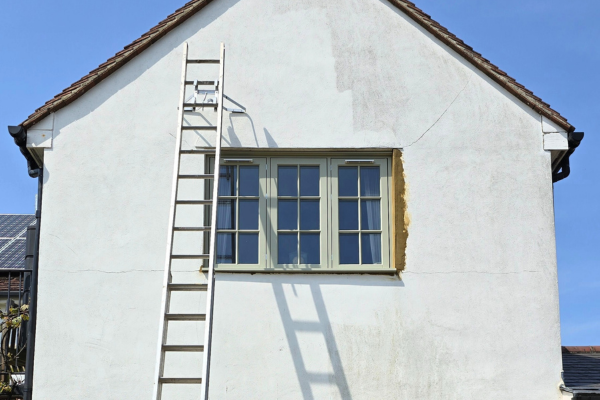
3. PREPARATION
The surface you are painting must be sound. Water will find its way into any holes or cracks, so making sure it is watertight is crucial for long-term protection and to ensure the paint can perform as effectively as possible.
There are a few ways you can check to see if you need to make any repairs to your exterior walls. If you have a rendered wall simply tap the surface to see if there are any signs of detachment from the wall. If the render sounds hollow, this is a sign it isn’t adhered to the masonry beneath and could need to be hacked off and repaired.
Take time to check there are any holes or cracks as these should be repaired. A masonry repair filler will be effective at filling any cracks on the masonry. Start by removing any loose debris from the hole or crack. Once clean simply work a good-quality masonry filler back and forth into the defect using a filling knife. Once you have filled this and allowed to dry fully, sand this back to your desired finish using sandpaper.
If your exterior walls have been painted before, it is important to check that this paint is still in sound condition. If the paint is peeling in areas, ensure you remove this using a paint scraper until you have a ‘firm edge’, where no more paint can be removed. To make the edge as smooth as possible lightly sand the area using sandpaper.
If you are painting a textured surface and had to make repairs that aren’t quite matching the existing surface, our Emperor Textured Basecoat is ideal to apply at this stage. This basecoat allows you to create a textured surface that helps to cover imperfections such as cracks and create a seamless finish.
Learn more: A full guide to prepping exterior walls
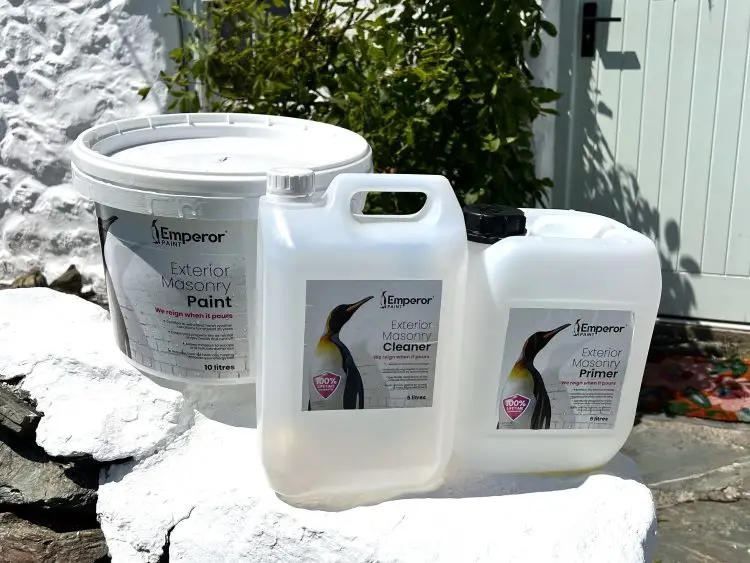
4. PRIMING
Potentially the area that can cause the most confusion for homeowners is the process of priming. Priming involves applying a treatment to bare, unpainted walls in order to help the paint stick to the wall and aid long-term performance.
Primers are often confused with the term ‘stabiliser’ or ‘stablising solution’. A stabiliser is a product that helps bind chalky masonry surfaces in order to create a solid base for them to be painted. A stabilising solution and a primer serve the same purpose meaning there is no need to apply both a stabilising solution and a primer. Any bare masonry that isn’t painted must be primed before you paint.
You do not need to prime surfaces that are painted or silicone renders that are pre-coloured, so you can move on to the next step of the process.
Simply apply a primer such as Emperor Exterior Primer to the exterior wall using a brush or roller and allow to dry.
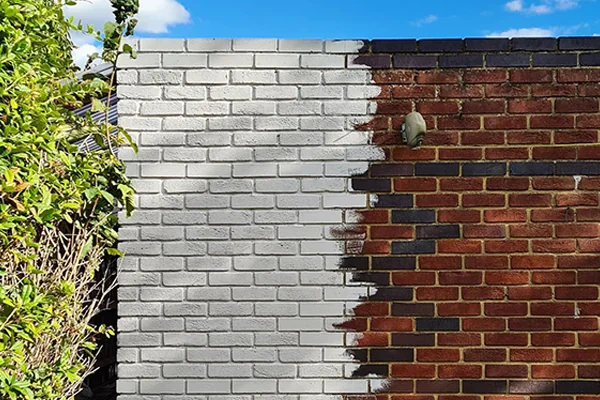
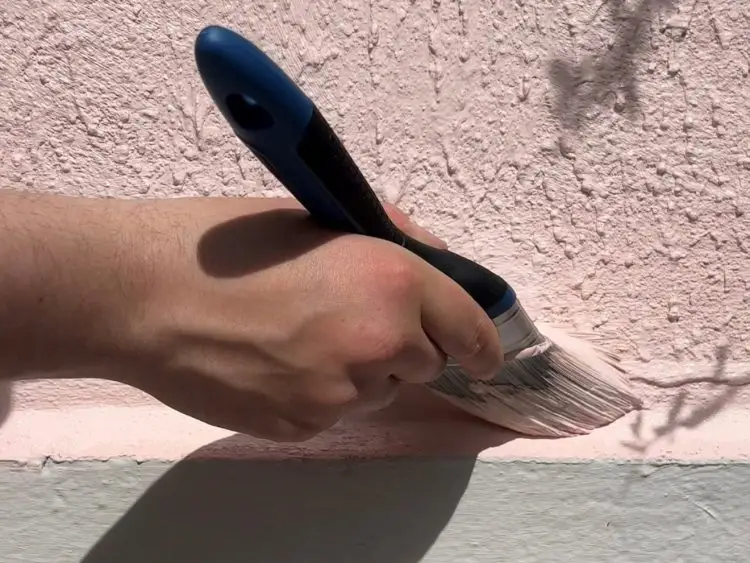
5. PAINTING
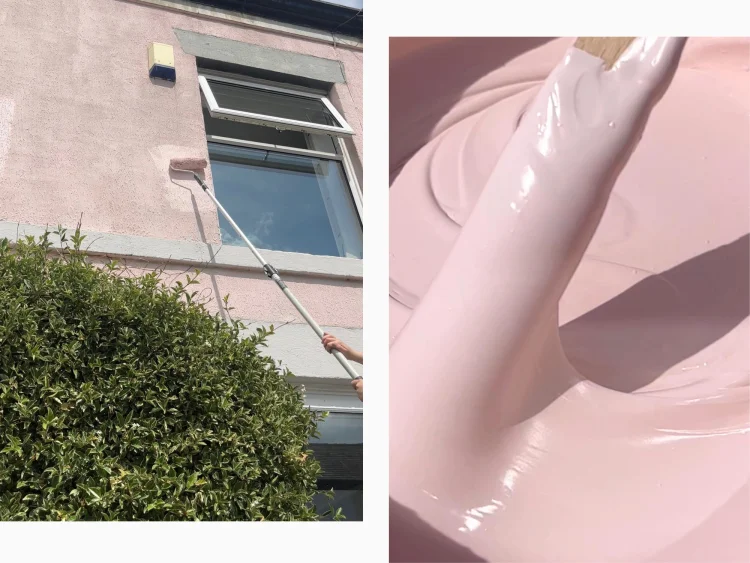
Once your exterior walls are dry, clean and sound, it is time to start the painting. When it comes to painting exterior walls, it is always best to start at the top of the area you are painting and work your way down, which helps to prevent paint drips.
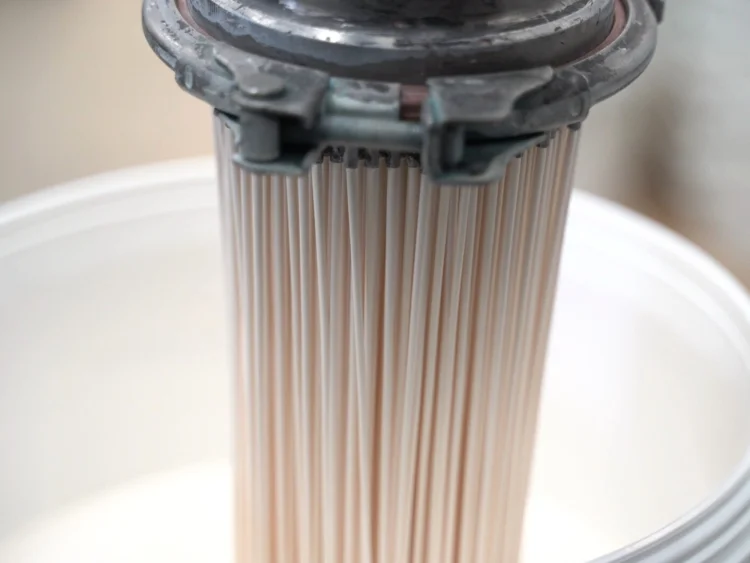
For easier application, it’s recommended to add 10% water to the paint you are using for your first-coat, which helps the paint apply easier to the surface and helps create a solid base for your second coat.
Using a paint brush, start by cutting in around the edges of the wall and any exterior trim such as windows.
After you have cut in, use a long-pile roller to apply the paint to the rest of the wall. In order to get the best finish use long vertical strokes, which help to apply the paint evenly.
The rougher the texture of the exterior wall, the lower the coverage of the paint you are using will be and the more paint you will need. As a rule of thumb, a heavily textured surface such as pebbledash will reduce a paint’s coverage by up to half.
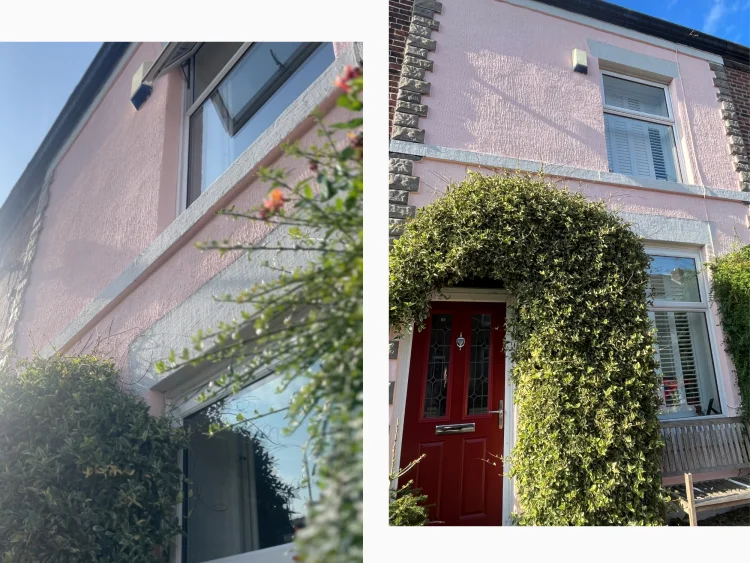
Once your first coat is applied, simply repeat the process with your second coat.
Frequently Asked Questions
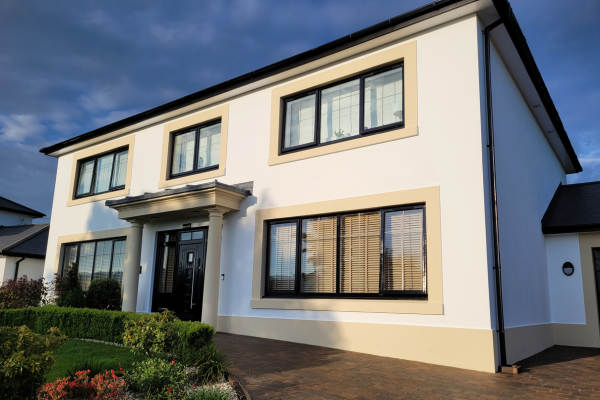
WHAT IS THE BEST WAY TO FIND THE RIGHT COLOUR FOR ME?
Finding the right colour is important, so we’ve put together a colour inspiration gallery which can guide you to what shade is best for your property.
DO I NEED TO DO THIS MYSELF OR CAN I GET HELP?
There is always the option to hire a professional. Our paint is already popular amongst painters and decorators but any high quality decorator is more than equipped to work with our paint, just let them know what you want.
HOW MUCH PAINT DO I NEED?
The amount of paint you need will to paint exterior walls depends on the size and texture of the wall.
Typically the average semi-detached house is 90m², meaning you will need roughly 25-35L of paint.
Don’t worry – you can use our size guide to help calculate this.
HOW MUCH DOES IT COST TO PAINT EXTERIOR WALLS?
The cost of painting exterior walls depends on how big your house is, whether you are doing it yourself and if scaffolding is needed.
If you’re hiring a professional decorator to paint the outside of your house, this will likely take at least 3 days work, with day-rates ranging from £220-£400 per day, according to Checkatrade. Scaffolding can cost between £600 and £1000 per week, depending on size.
If scaffolding isn’t required and you plan to carry out work yourself, you can typically expect paint and tools to cost below £1000 for a typical semi-detached property.
If you have more questions, we are here to help with our in-house team of experts. You can chat to them by emailing [email protected].
Ready to start? Take our handy quiz to get personalised recommendations and find the right products for your project in a few clicks.
This article was written by the Emperor Technical Team, a group of experts with an average of over 25 years experience in the building industry. They work daily with homeowners, tradespeople and specification professionals to deliver practical, expert guidance that promotes long-term results, supports wall health and helps create homes that are prepared for the future.