Prepping Exterior Walls – The Complete Guide
It may come as a surprise to hear but preparation is the single most important aspect of any decorating project. We are extremely proud of our products however they are only as good as the surface they are being applied to. That is why it is crucial to take the necessary steps to prepare the wall before you do anything else.
In this guide we will cover:
- Why is preparation important?
- How to prepare exterior walls?
Why Is Preparation Important?
Good preparation is essential for a long-lasting, high-quality finish. Without it, moisture can enter cracks and undermine the benefits of the super hydrophobic coating. Poor prep can also stop the paint from adhering properly, increasing the risk of premature failure.
How To Prepare Exterior Walls
Even though Emperor Masonry Creme and Emperor Masonry Paint are applied differently, much of the preparation is the same. There are some key differences, such as priming, but we will cover that.
Preparation involves three steps; cleaning, repairing and priming (if required). Each one is as important as the next, so don’t cut any corners as it could come back to bite you later on.
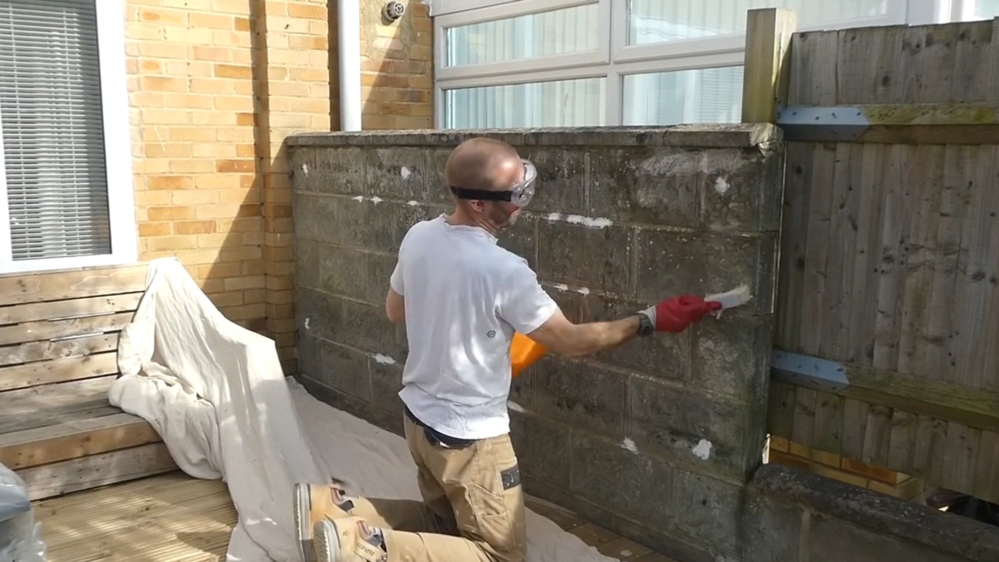
1. Cleaning
Cleaning ensures exterior walls are clean and free from dirt, debris or contamination. Cleaning not only ensures the product you are applying can perform, but also ensures the wall looks its best. In the case of Emperor Masonry Creme, this is a clear product, so you don’t want any dirt on the wall that will be left for all to see.
Wash the masonry
- Use a pressure washer (on low pressure), hosepipe, or stiff brush with hot water.
- Removes surface dirt to ensure proper paint adhesion.
- For lime render or sandstone, use steam cleaning due to high porosity.
- If steam cleaning isn’t possible, a stiff brush is suitable for light dirt.
Apply Emperor Masonry Cleaner
- Use where there is organic growth: mildew, lichens, algae.
- Acts as a fungicidal wash to kill fungus and prevent future blooming.
- Apply with a brush, roller, or pump-sprayer.
- Allow to dry for 2-3 hours at 20°C.
- After drying, wash the cleaner off the wall to remove any residue if you are using Emperor Masonry Creme, or you can leave it on if you are using Emperor Masonry Paint.
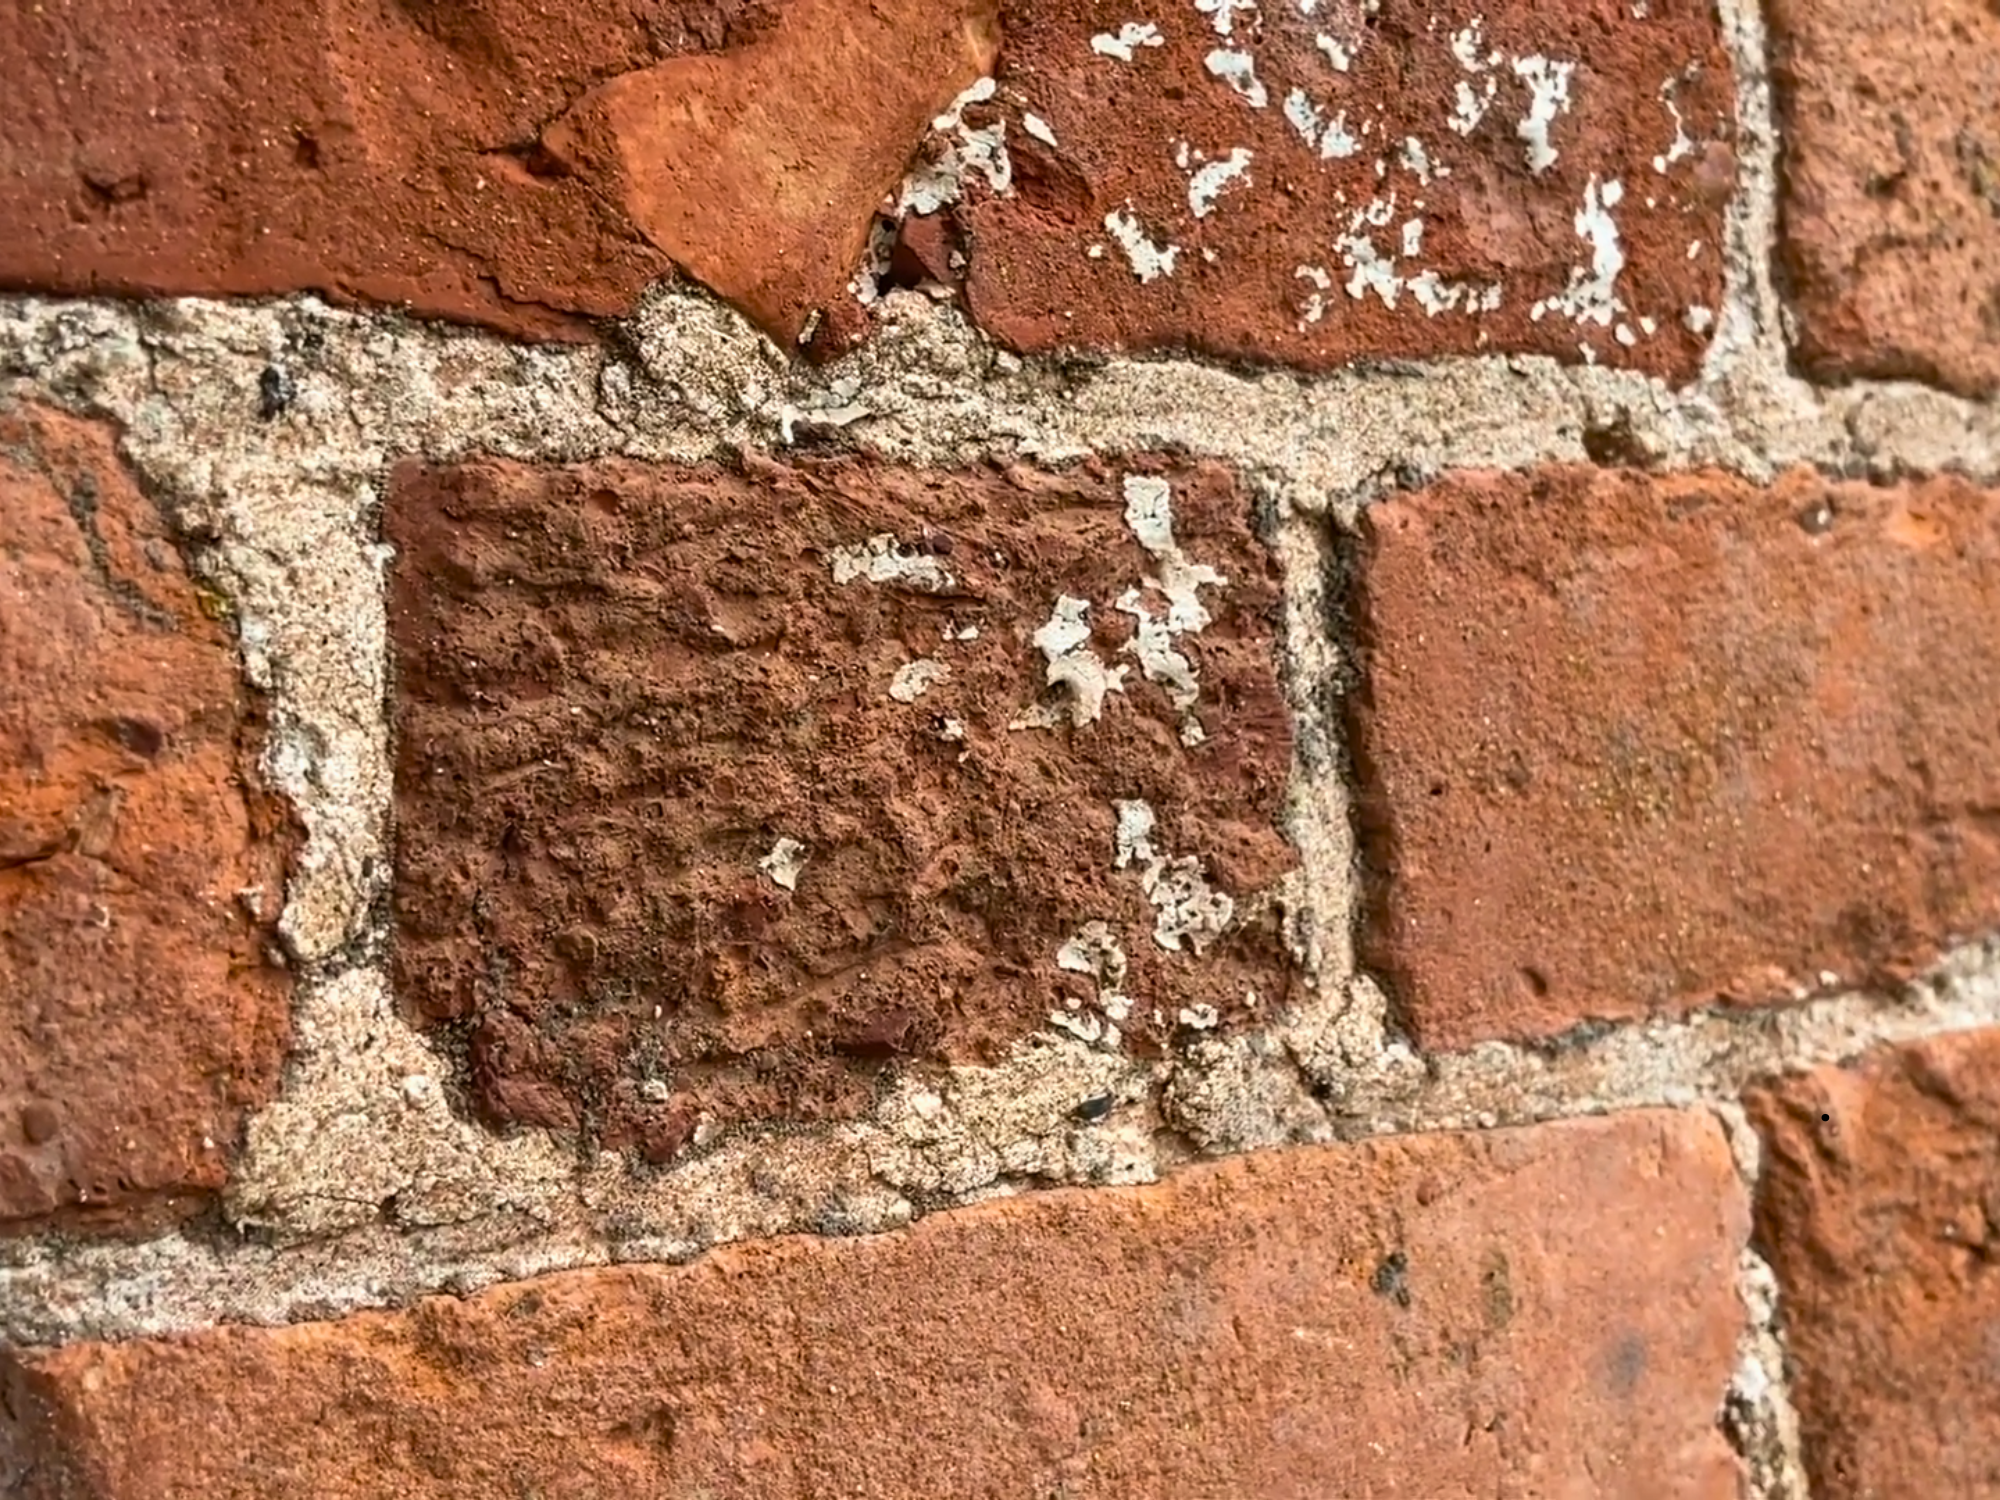
2. Repairing
Check the condition of the surface
- Tap rendered walls to identify delamination or detachment.
- A hollow sound indicates the render isn’t properly adhered and may need hacking off and repairing.
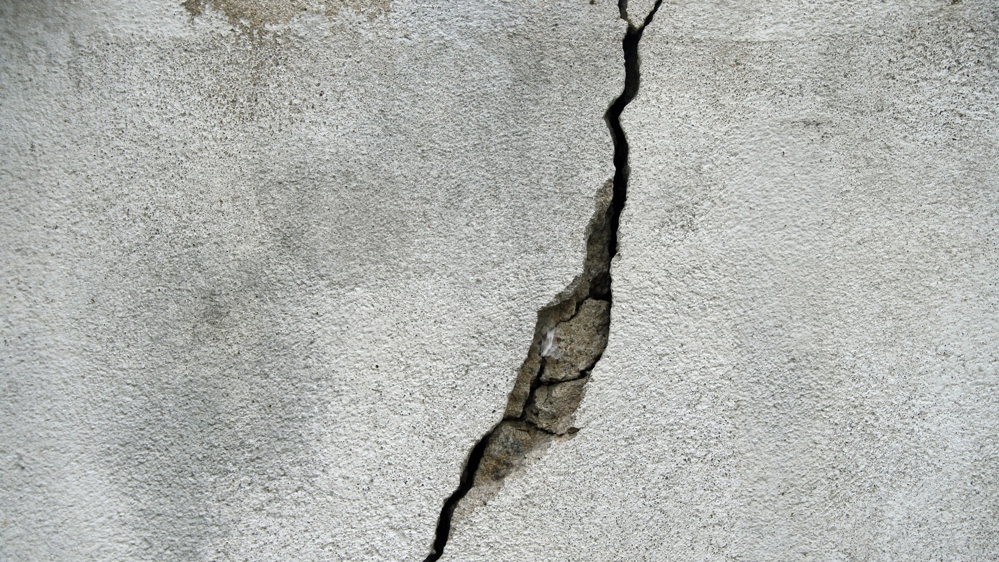
Repair holes and cracks
- Use a masonry repair filler for cracks or defects.
- Rake out the crack to remove loose debris.
- Work the filler into the crack with a filling knife.
- Once dry, sand to the desired finish with 180-grit sandpaper.
Address the previous paint
- Emperor Masonry Creme: remove all existing paint, it must be applied to bare masonry.
- Emperor Masonry Paint: only remove failing or loose paint.
- Scrape back loose areas until you reach a firm, solid edge.
- Sand the edges smooth using low-grit sandpaper.
3. Priming
Priming is something that must be done when applying a coloured paint to a bare, unpainted surface. The job of a primer is to prevent the paint from soaking into the masonry, which causes you to lose coverage and opacity. It also helps the paint adhere to the wall.
When you don’t need primer
- Surfaces that have been previously painted or have pre-coloured render.
- When using Emperor Masonry Creme, it must absorb directly into bare masonry.
When you do need primer
- Applying Emperor Masonry Paint to any bare, unpainted masonry surface.
- Ensure the masonry is dry and temperatures are above 5°C before application.
How to apply the primer
- Use one coat of Emperor Exterior Primer on all bare areas.
- Apply with a masonry brush or long-pile roller.
- Coverage: 5-8m² per litre, depending on surface porosity.
- If only small bare patches exist (from removing peeling paint), prime just those areas.
Drying times
- Allow 3-5 hours at 20°C (longer in cooler conditions).
- Proper drying is crucial for performance (do not rush this step).

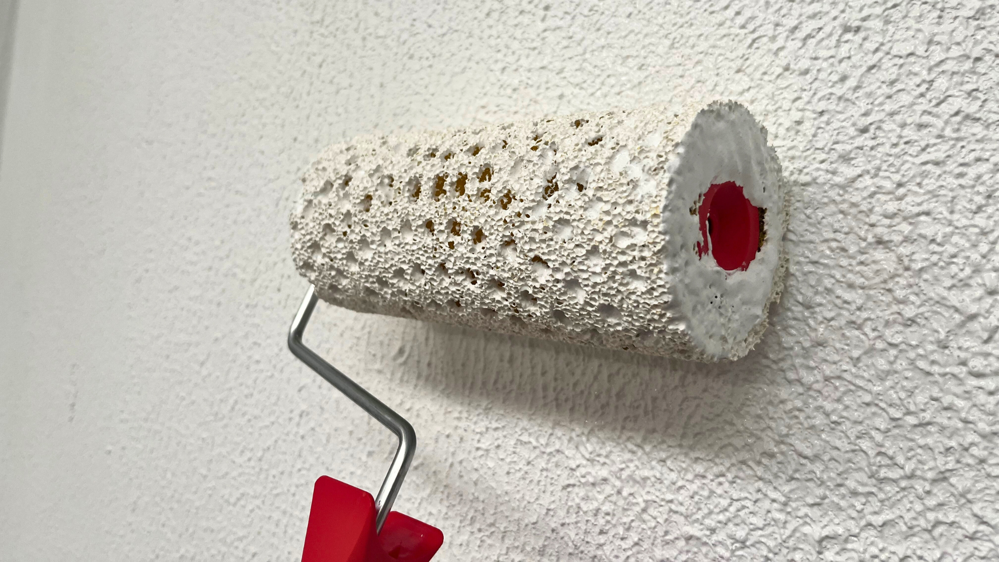
4. Creating a textured finish
Creating an attractive, even finish can be difficult, especially in areas where repairs have been made due to cracks etc. Repairing these surfaces can often leave scarring or patches on uneven textures which can stand out badly.
To help with this we developed Emperor Textured Basecoat which has been specially designed to create a wide range of textured finishes easily and effectively. Any texture from light to rough can be created using various textured rollers, allowing you to mask imperfections and create a uniform textured finish without the need for costly and time-consuming rendering work.
- The basecoat can be applied directly to previously painted or bare surfaces as it is self-priming.
- Generously load a textured roller and roll the basecoat onto the wall.
- If using a brush, apply the product until the desired finish is achieved.
- Avoid applying too thinly, as this will reduce the intended texture.
- Expected coverage: 350–500g per m², depending on texture level.
- Allow to dry for 24 hours before applying Emperor Masonry Paint.
Read more: How to apply
Frequently Asked Questions
What happens if I apply primer to a previously painted wall?
If you apply primer to a previously painted wall, that paint will stop the primer soaking into the surface and cause it to simply wash off. That is why we recommend spot priming bare areas of masonry if there is a mix of both bare and painted areas of a wall.
What filler should I use to repair walls?
You can use any exterior filler in order to prepare walls before treatment. We recommend using a high-quality exterior filler such as Toupret Masonry Repair Filler, which will provide a solid bond to the wall to help prevent any future problems occurring.
What happens if I don’t prime a bare surface before painting?
If you do not prime bare masonry before applying Emperor Masonry Paint, a number of things can occur. Firstly, the first coat of paint that you apply could simply soak through into the porous masonry instead of creating a film of paint of the surface. This could result in you requiring more than two-coats of paint. Furthermore, if the surface is chalky, the adhesion of the paint could be compromised. Emperor Exterior Primer can help to bind chalky surfaces, preventing any problems with failing paint.
Do I need to apply Emperor Exterior Cleaner and Emperor Exterior Primer to qualify for the lifetime Guarantee?
To qualify for the lifetime guarantee, the products must be applied correctly, with proper preparation being the key. Emperor Exterior Cleaner is only required on areas where you can see organic growth. If no growth is present, a simple clean with water is sufficient. While not mandatory for the whole wall, using the cleaner everywhere is recommended for full peace of mind.
Emperor Exterior Primer is required when applying Emperor Masonry Paint to bare masonry. However, it isn’t needed on previously painted surfaces or when using Emperor Masonry Creme.

We know that finding what products you need for your project can feel overwhelming, but we’ve made it easy! Take our project quiz to get personalised recommendations and find the right products for your project in a few clicks.
We hope we have answered any questions you may have had regarding how to prep exterior walls. If you have any other questions our team of experts are on hand to assist you no matter your problem. Contact them today by emailing [email protected] or calling 01254 936121.
Featured products